

As a wedding photographer, one of the most delicate yet impactful elements of post-production is skin tone editing. Capturing life’s most precious moments means showing people as their most authentic selves, and editing skin tones can make or break that goal. From subtle undertones to adjusting for lighting changes, this blog post dives deep into the art of skin tone editing and how to create stunning, natural results that match what we see in real life.
Understanding Skin Tones in Photography
Skin tone, in its simplest form, refers to the natural color and undertones of the skin. Scientifically, the variations in skin tone arise from the levels of melanin, hemoglobin, and carotene in the skin. These pigments influence the depth of color as well as the warm, cool, or neutral undertones that make each person’s skin tone unique.
For photographers, this means recognizing that no two skin tones are exactly alike. Some may lean more toward golden or yellow hues, while others may display subtle hints of red, peach, or olive. These variations demand careful attention during the editing process to ensure accurate representation.
Determining Skin Tone: Warm, Cool, or Neutral?
Finding an individual’s skin tone isn’t always obvious, but a quick trick to uncover undertones is the sun exposure test.
- Warm undertones often reveal themselves in golden or peachy skin that tans easily.
- Cool undertones usually reflect pink or bluish hues and may result in more sunburn than tanning.
- Neutral undertones sit somewhere in the middle, blending warm and cool characteristics.
For wedding photographers, understanding these subtle distinctions can inform decisions when adjusting lighting, balancing colors, and achieving accurate skin tone representation in photos.
The Fitzpatrick Scale and Skin Tone Categories
In photography, one useful tool to understand skin tones is the Fitzpatrick Scale. Originally designed to categorize skin based on its response to sunlight, it’s also a handy reference in editing. The scale includes six categories, ranging from very fair tones to very deep tones.
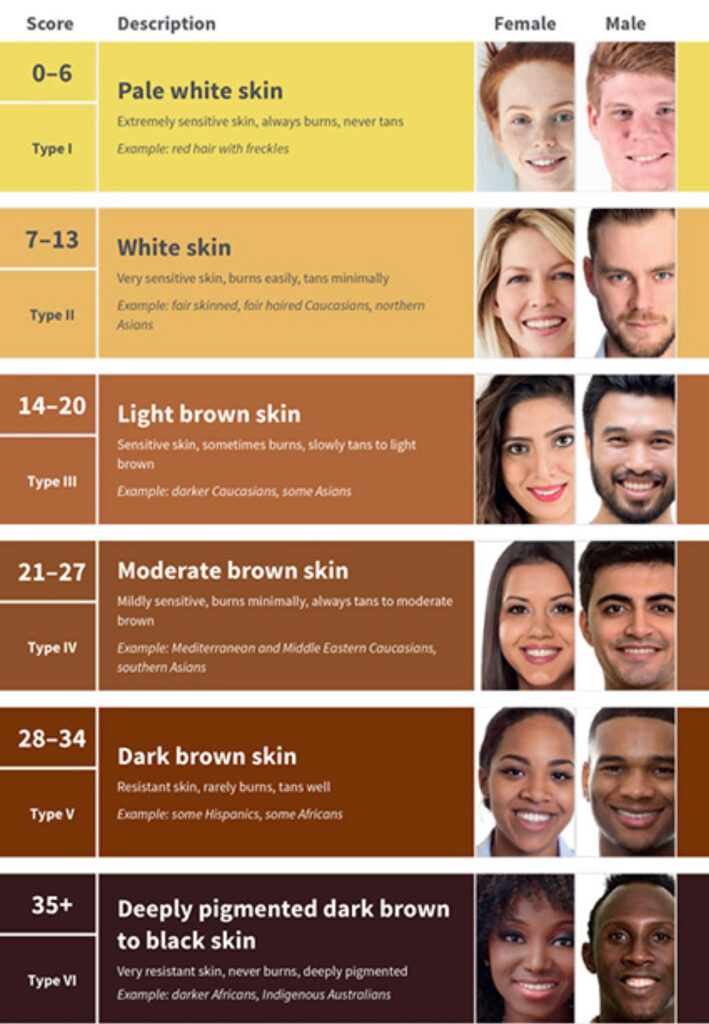
This framework reminds us that editing isn’t a one-size-fits-all process. Each category has unique characteristics in terms of brightness, contrast, and color balance that should be considered during post-production.
Skin Tone Editing: Tools and Techniques
Now comes the heart of the matter… editing skin tones to create professional, true-to-life results. As a wedding photographer, my workflow primarily consists of Adobe products such as Lightroom and Photoshop. Here’s a breakdown of how I use these tools to refine skin tones.
White Balance Adjustment
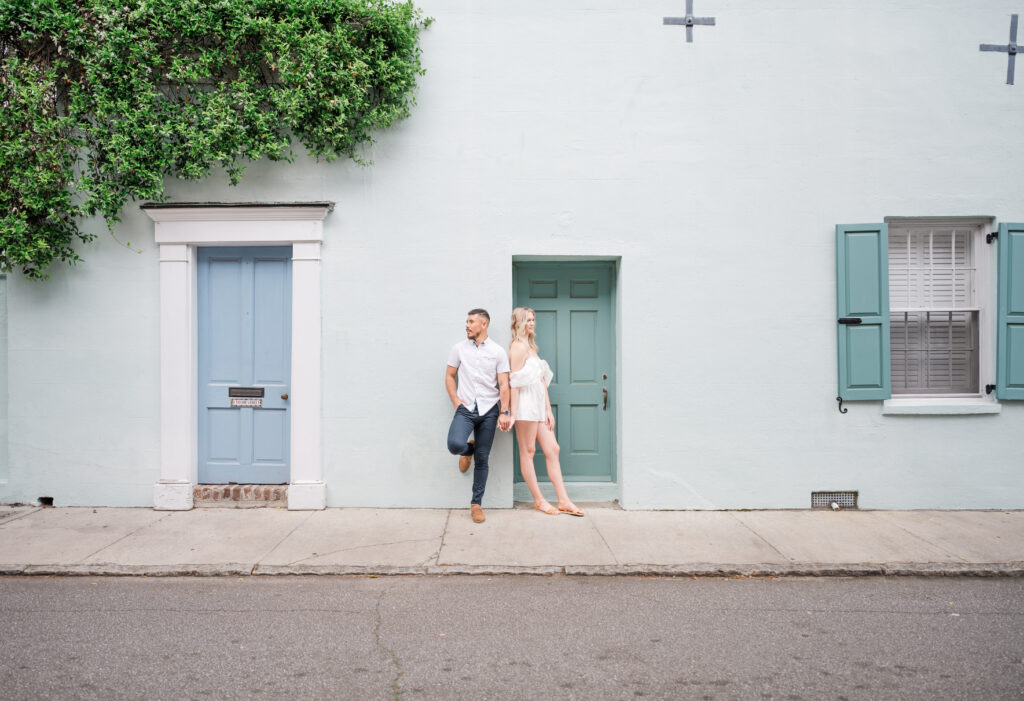
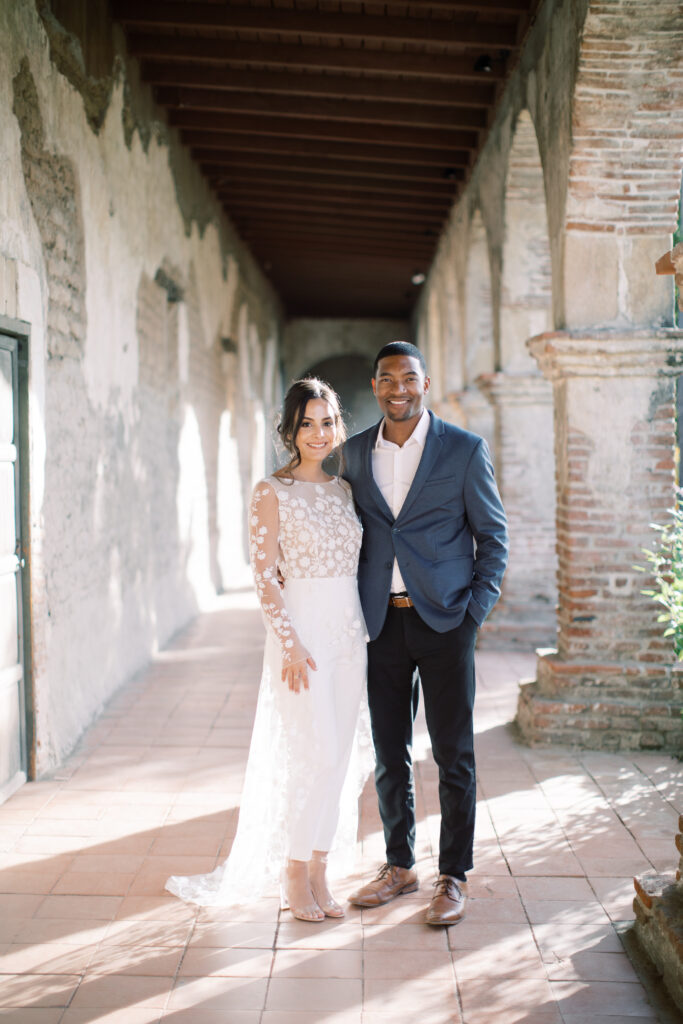
White balance is the first step to ensuring accurate skin tones. I choose to shoot auto-white balance in camera knowing that I have full control of the RAW image in post-processing. Next, I use Lightroom’s eyedropper tool to select a neutral area (like a white dress or a gray suit) and adjust until the tones feel natural. This step helps eliminate color casts caused by different lighting conditions, like tungsten or fluorescent light. In the examples provided below, the left image is a natural, matte finish with cooler white balance while the right image is a natural, bright finish with warmer tones.

Using Brushes and Gradients
Brushes are invaluable for spot-correcting areas of skin that might appear uneven or overly warm/cool due to shadows or highlights. I typically lower the saturation slightly, adjust the temperature, and soften the texture to create smooth transitions.
Gradients are perfect for creating subtle changes across larger areas, such as blending different lighting zones on a subject’s face or neck.
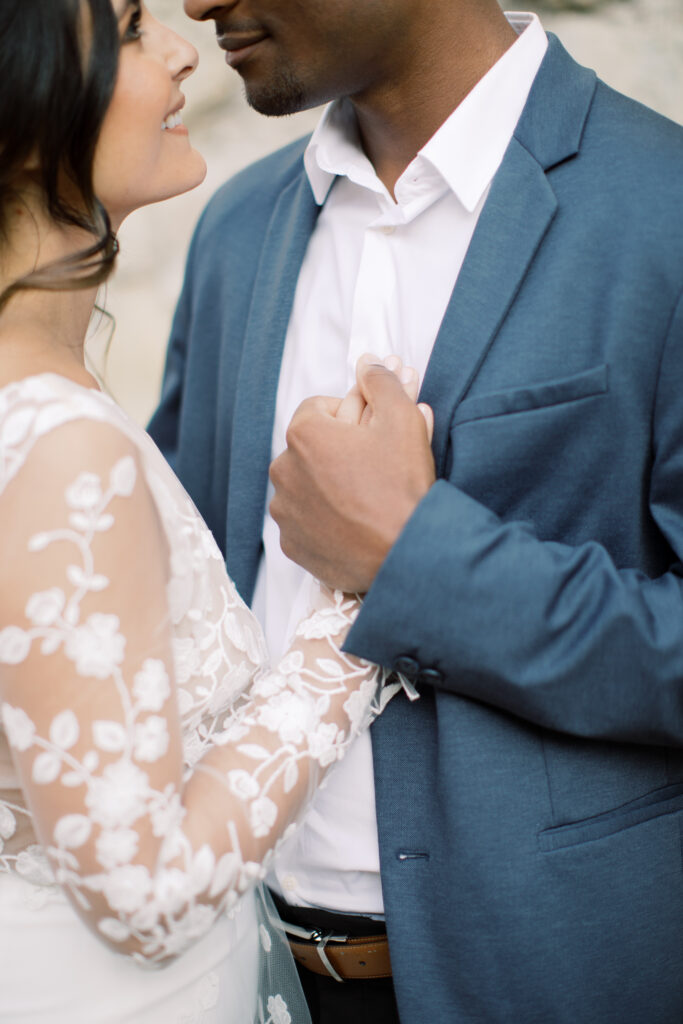
In the following images, you’ll notice the brides eye shadowing and groom’s blemish alteration. While the changes are subtle, the editing creates a more beautiful finished product.

Masking for Precision
In Lightroom, I rely heavily on masking tools to isolate specific areas. For example, when editing skin tones, I create masks for the skin alone, leaving the surrounding details untouched. This allows me to fine-tune color balance, luminance, and saturation without affecting elements like hair, clothing, or background details. Everything from isolating the background to clothing and hair can be accomplished when working with a knowledgable photographer.
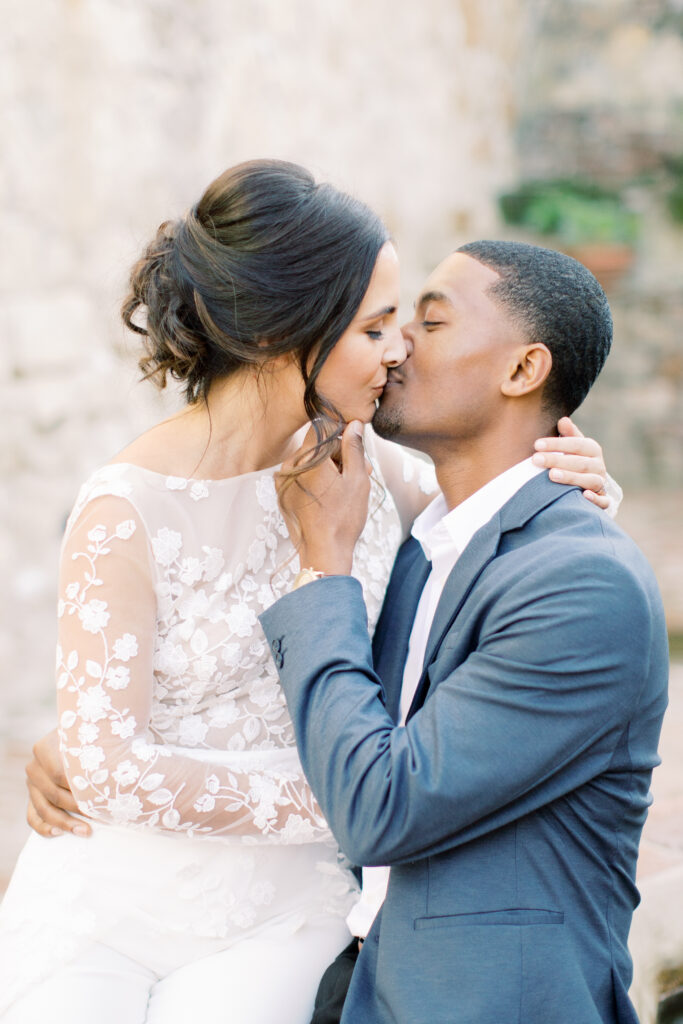
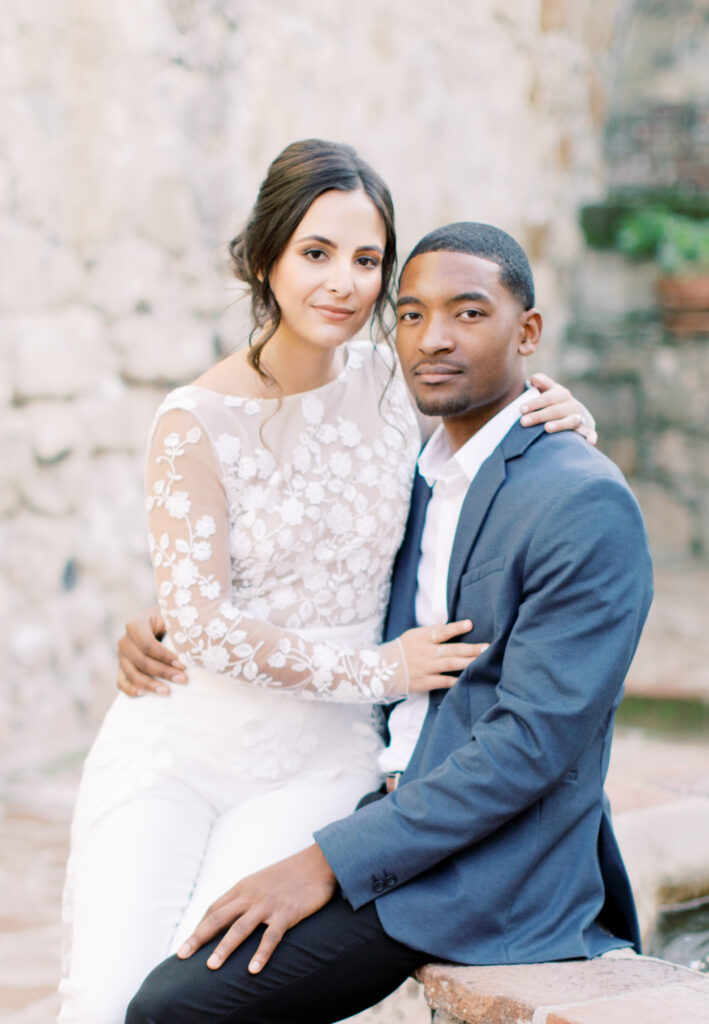
When balancing a couple with skin tones at opposite ends of the Fitzpatrick Scale, I isolate each individual using masks to achieve precise edits. For the fairer skin, I often soften the reds, brighten the lowlights, and add a touch of warmth. For the deeper skin tone, I may reduce excessive warmth and lighten the shadows and darker areas to create a more balanced contrast.


Concerns Related to Skin Tone Editing
As a wedding photographer, I often have couples inquire about how I approach editing skin tones. When speaking directly to clients that might be concerned, my advice is as follows:
- Schedule an engagement session with your photographer prior to booking your full wedding day. This allows you to see an example of how the photographer will edit your skin tones. In addition, you’re not obligated to choose the photographer for your wedding if you’re unhappy with the process.
- Ask your photographer about sneak peeks. For example, I provide sneak peeks within 24-48 hours post wedding. My couples have a window of opportunity to reply if they’re unhappy with the sneak peek edits. After adjusting the edits and receiving client approval, the editing process can move forward. While I’ve never had a request for alternate editing, it’s nice to know that you, the client, has a say in the final product.
- Discuss the editing process with your photographer to better understand their workflow. For example, do they outsource their editing entirely or rely heavily on AI imaging tools? While neither of these approaches is inherently negative, it’s important to have confidence that your photographer can not only capture your images, but personally handle the post-processing if needed. This ensures that the final images reflect their artistic vision and meet your expectations.
Conclusion
Editing skin tones is as much an art as it is a science. By understanding the nuances of skin tone variation and using tools like Lightroom and Photoshop effectively, photographers can create timeless, authentic images that showcase the beauty of every subject. Whether editing a single subject or a diverse couple, the key lies in balancing precision with subtlety, always striving to honor the natural tones that make each person unique.
If you’re a wedding planner or couple who would like to work with Alisha Cory Photography, please inquire below:
Images provided by Alisha Cory Photography and SourcedCo.


")


+ COMMENTS
add a comment