The following guide to wedding photography timelines is meant to assist with designing a wedding day that eliminates feelings of stress or anxiety. Prioritizing a well-thought-out schedule can help ensure the wedding day runs smoothly and that photographers are provided ample opportunities to create beautiful wedding portraits.
Explore the following step-by-step guide for insights on planning the perfect wedding photography timeline.
Step 1: Getting Ready & Details
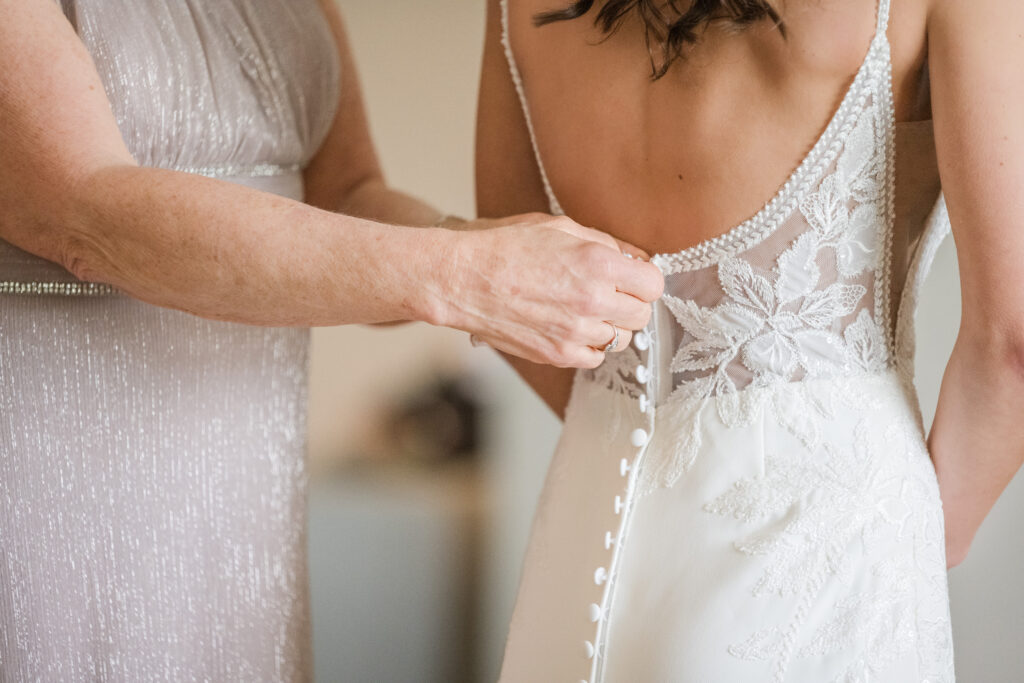
Timeline Allotment: 1 to 3 hours
Time: Mid-morning or early afternoon
Location: Bridal suite, hotel or home
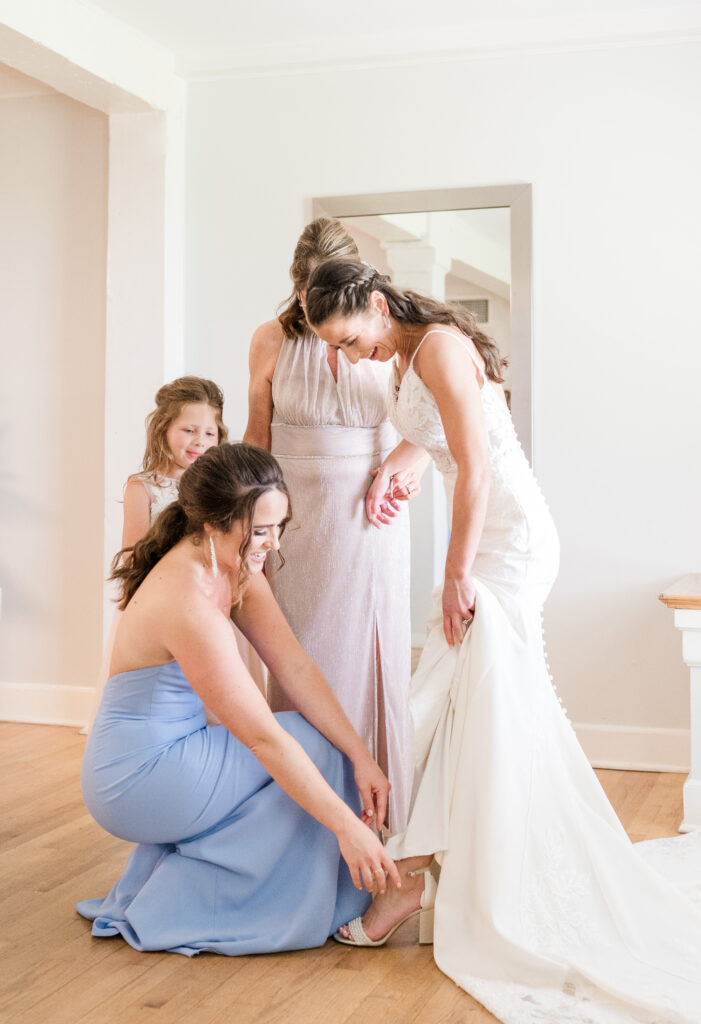
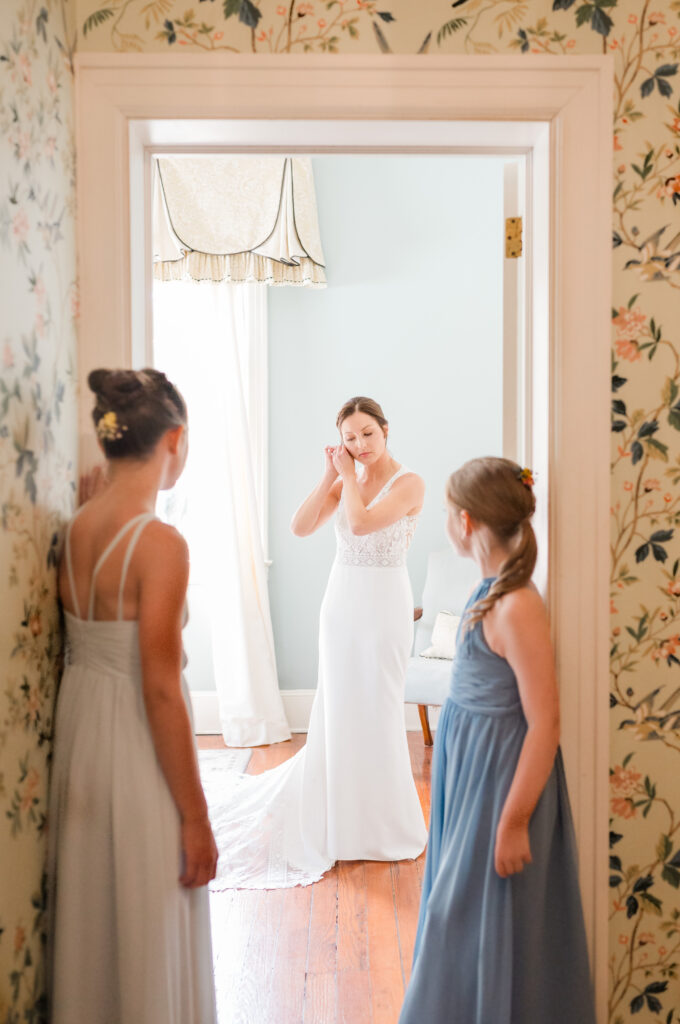
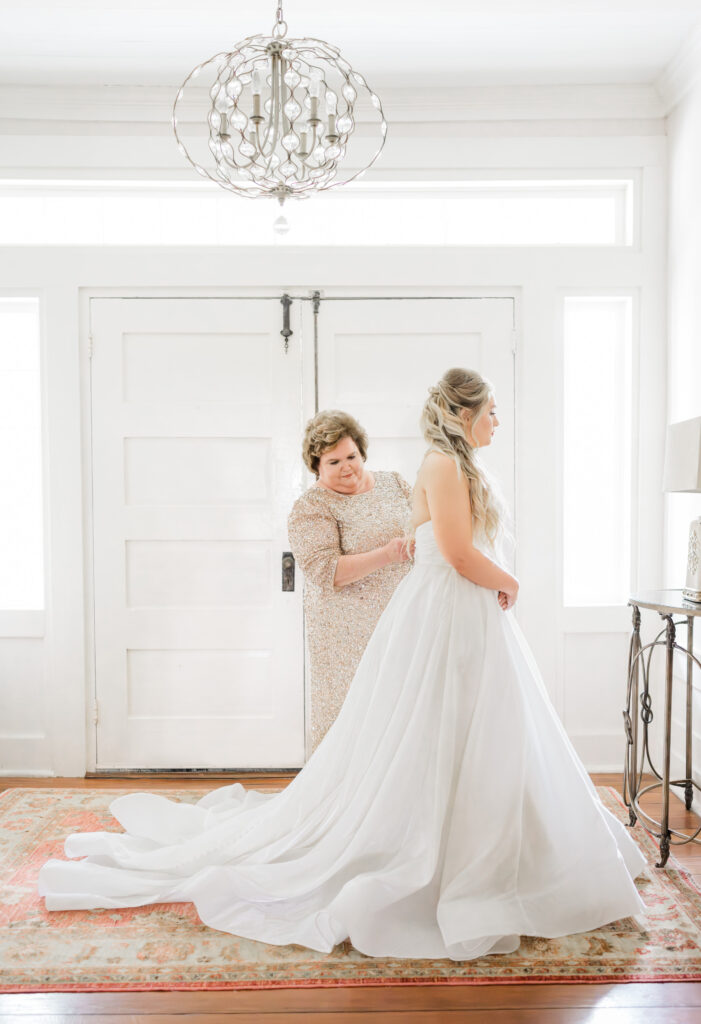
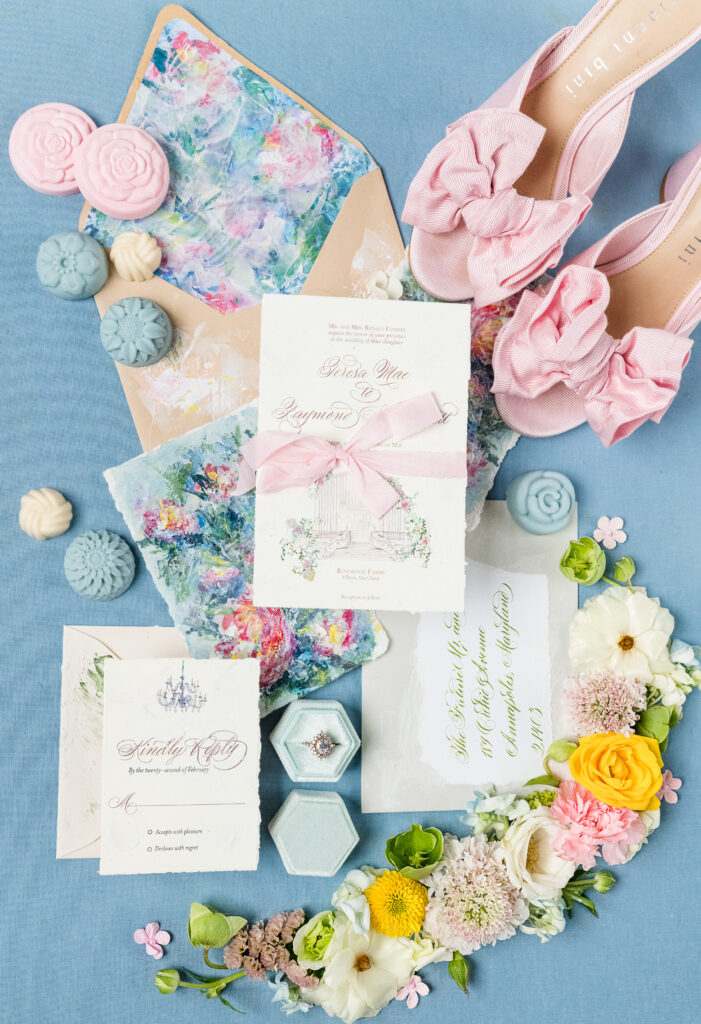
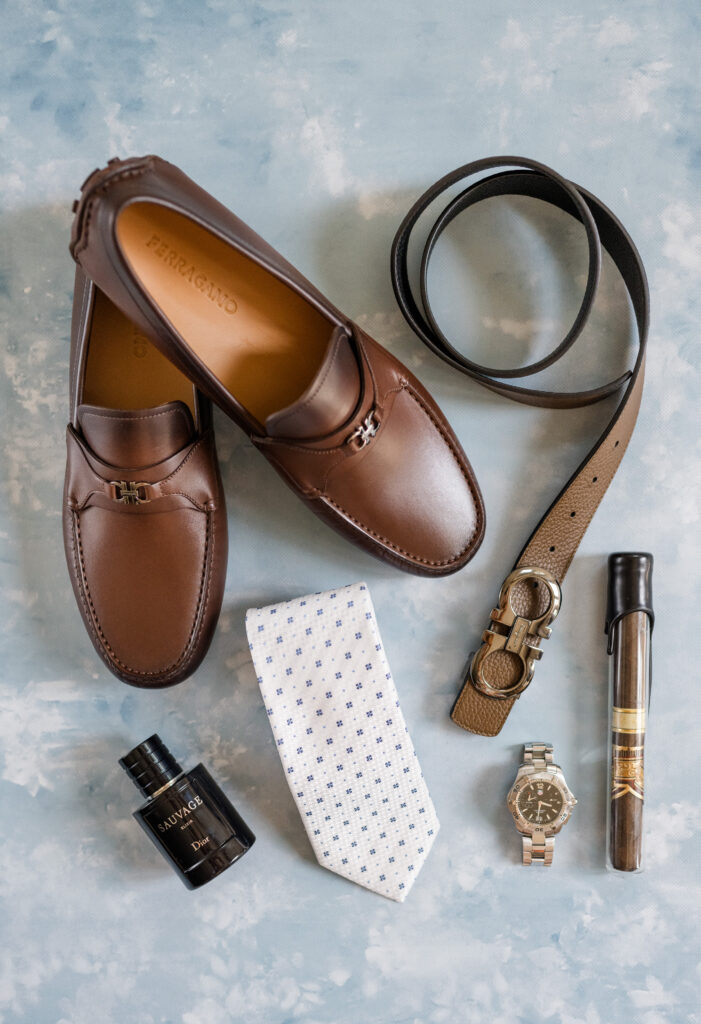
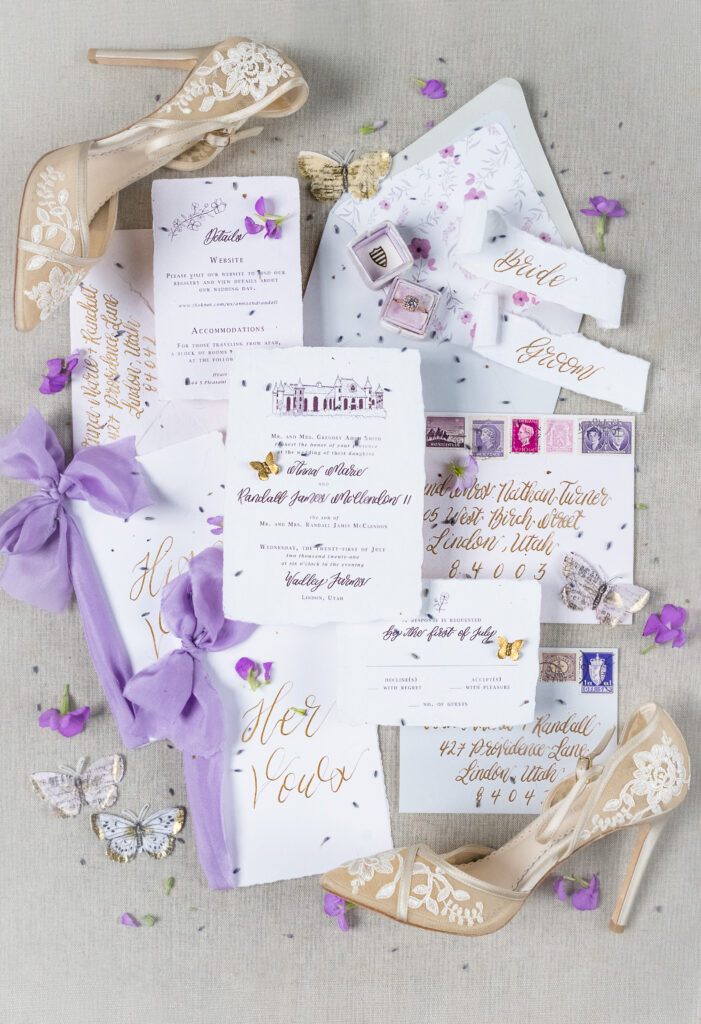
At the beginning of the wedding day, allocate ample time for getting-ready portraits and wedding details. At minimum, the photographer should arrive 1 – 1 1/2 hours prior to the bridal make-up being completed. Couples should prepare a box of their wedding details and have them available for when their photographer arrives. Details and getting-ready portraits are captured in conjunction with each other at the bridal suite. For a specific list of detail items to consider, make sure to grab the Essential Wedding Detail Guide at the bottom of this article.
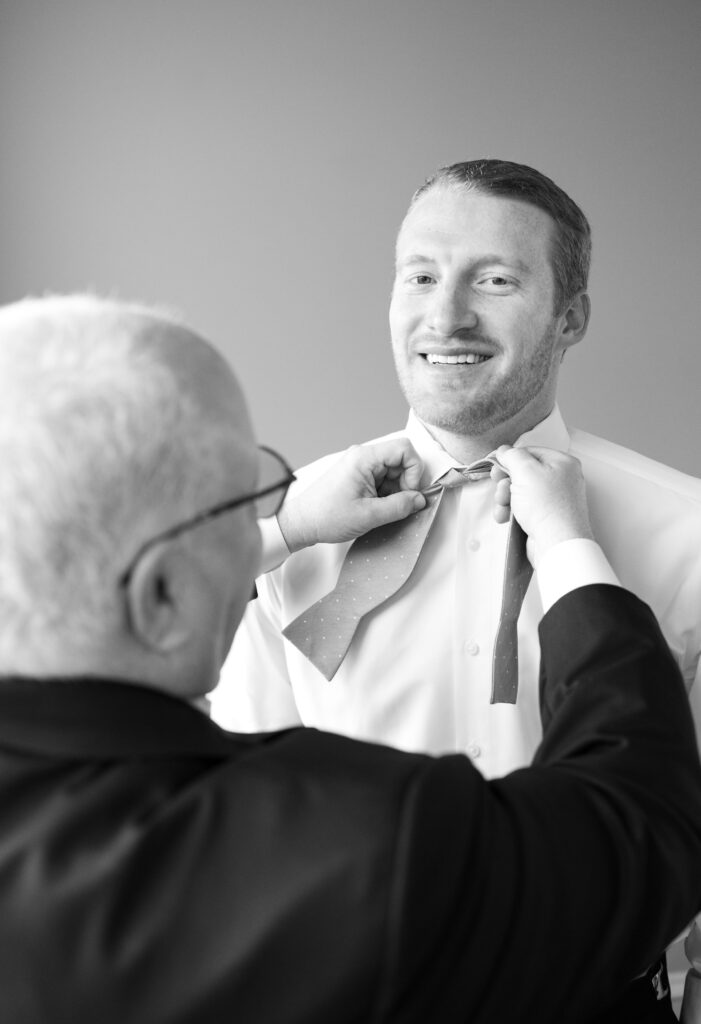
When second photographers are present, they will often leave the bridal suite and capture the groom getting ready. In addition, the second photographer can bring any necessary detail item to the groom that was used earlier for detail photography. If there are first-looks scheduled, the secondary photographer will arrive with the groom at the first-look location and assist the lead photographer with capturing the first-look from an alternate perspective.


Step 2: The First Look
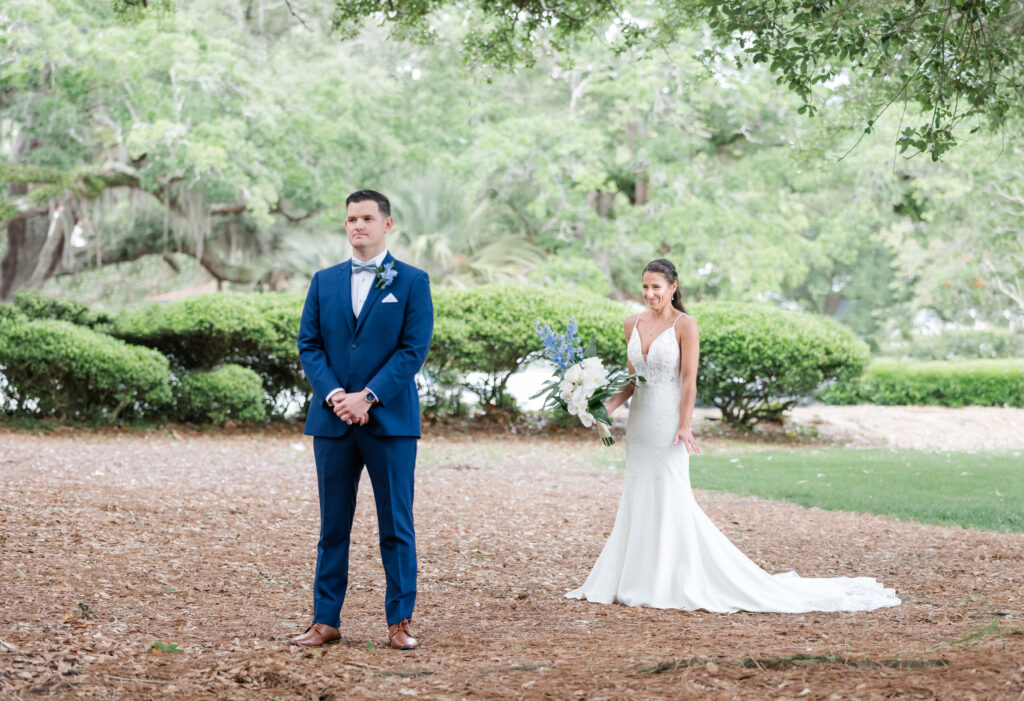
Timeline Allotment: 15 min -1 hour
Time: 1-2 hours prior to the ceremony
Location: Private area near getting ready location or wedding venue
What is a First-Look?
The first-look is a special moment between a couple when they see each other for the first time on a wedding day. Often, wedding photography timelines are created with cushion-time, so private vows or wedding gifts can be shared. This pre-ceremony encounter is an intimate time to capture couple portraits with beautiful emotion.
In addition, first-looks can also be planned for a father and his daughter and/or the bride being revealed to her bridesmaids, etc.
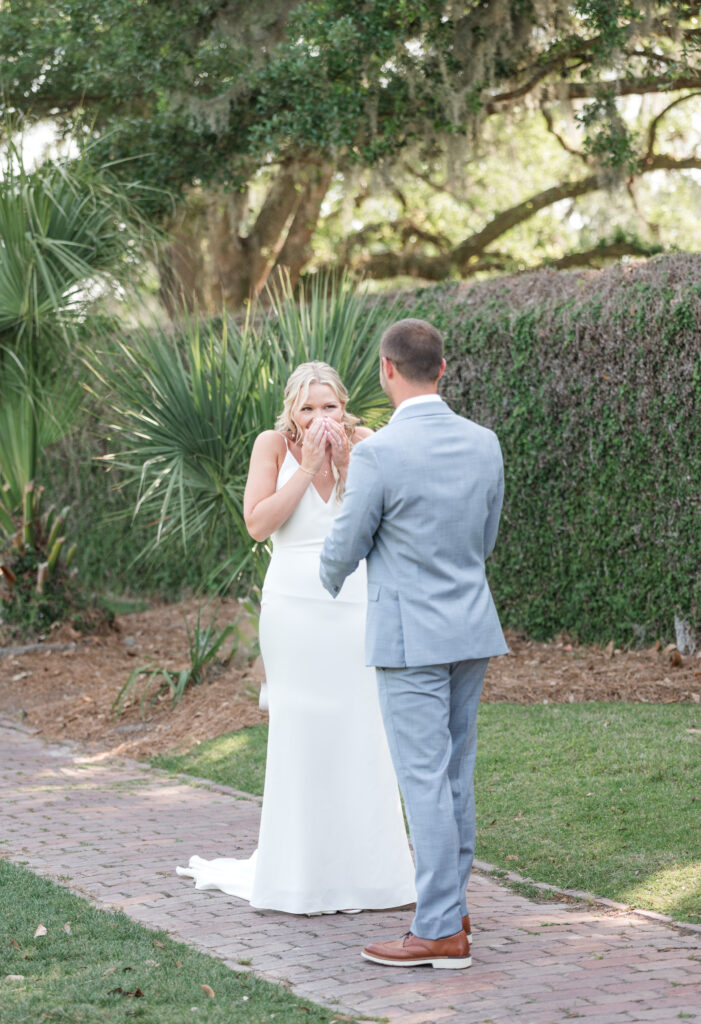
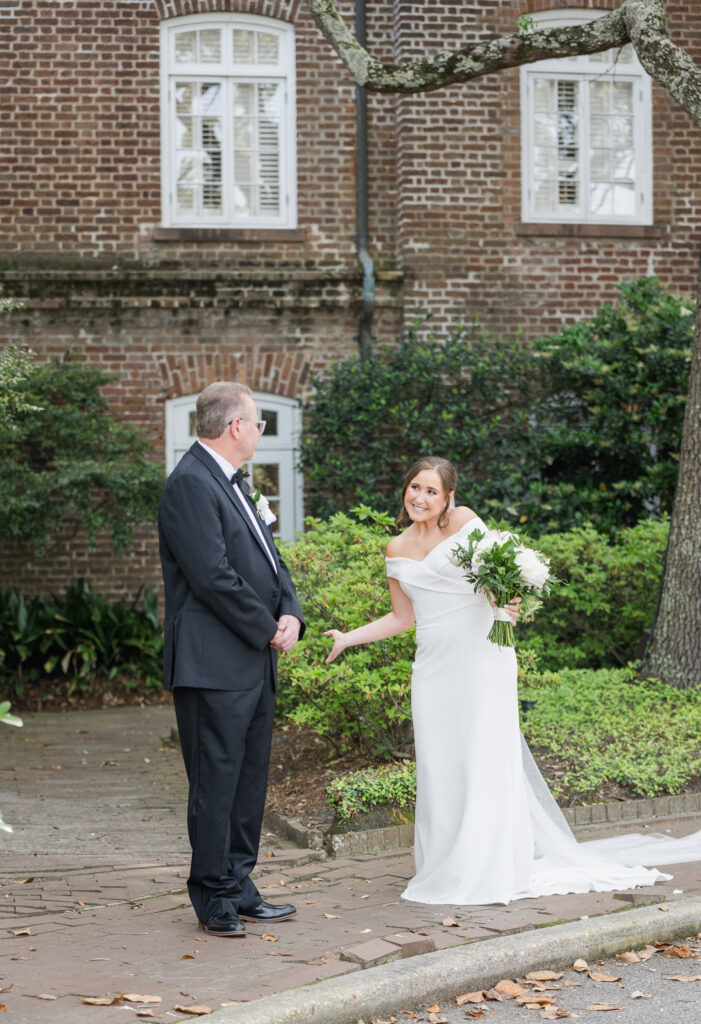
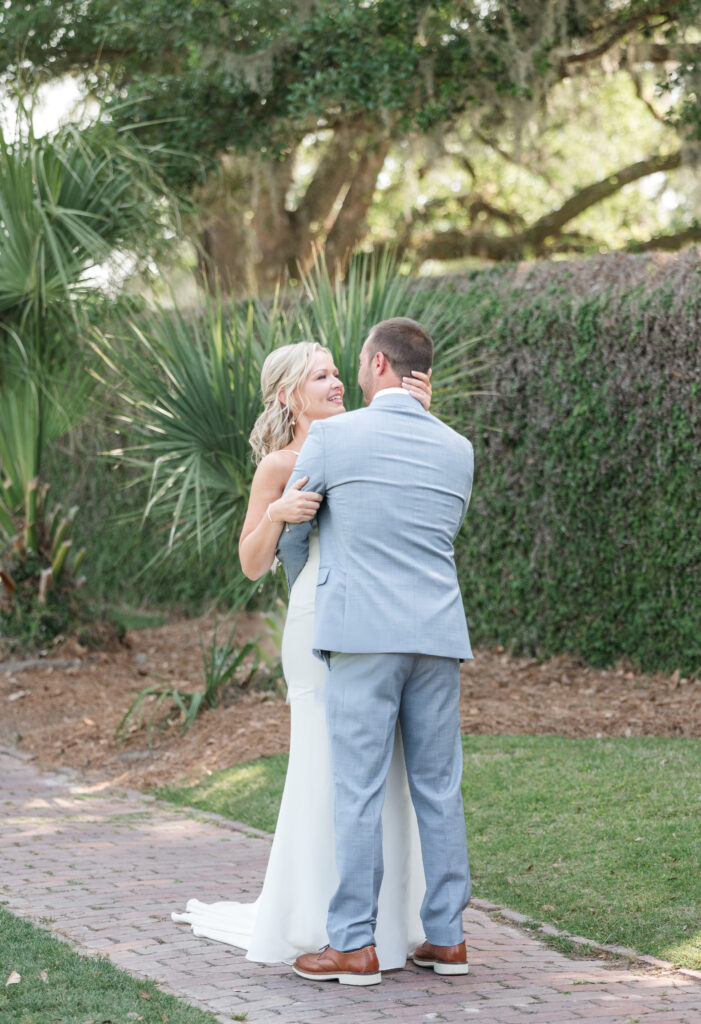
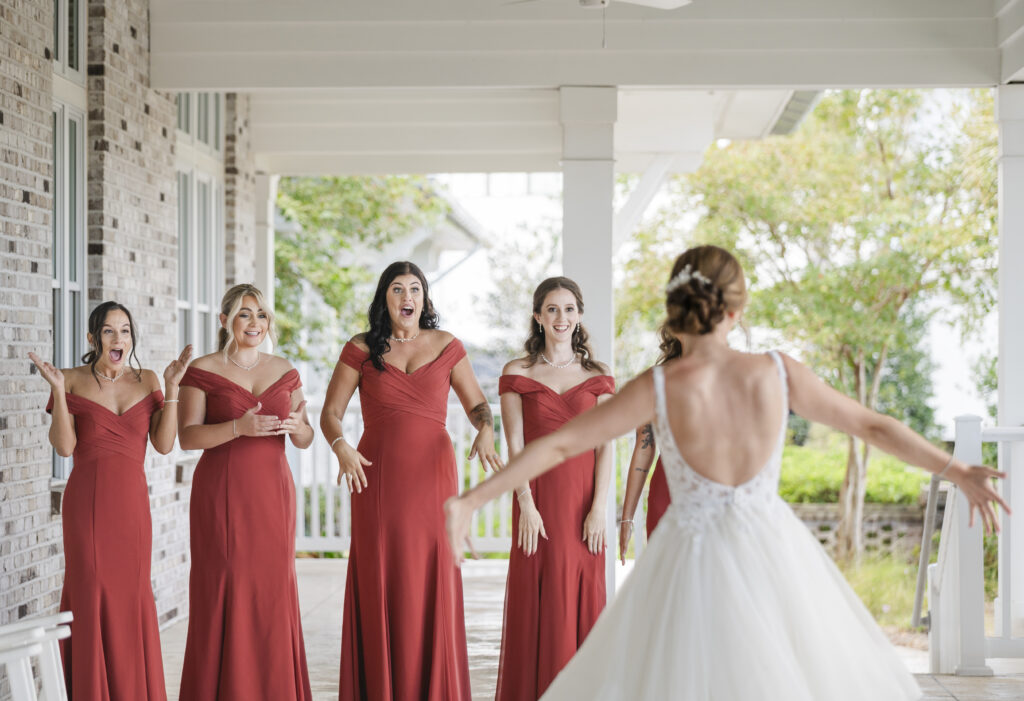
Top 3 Reasons for a First-Look:
- Easing Pre-Ceremony Jitters: Opting for a first-look provides a tranquil, private moment for couples to share before the ceremony, effectively calming pre-wedding nerves. This intimate connection at the start of the day sets a serene and joyful tone, reinforcing the couple relationship.
- Variety & Efficient Photography: From a photography standpoint, a first-look expands a wedding gallery with quality, heart-felt portraits. This quiet moment enhances the visual variety of wedding galleries due to photographs being captured in diverse settings and lighting conditions. Along with providing beautiful variety to galleries, first-looks enable formal family and bridal party portraits to be photographed early in the day. This strategic approach streamlines wedding photography timelines and allocates more time later in the day for couples to enjoy and interact with guests during the bustling cocktail hour.
- Preservation of Authentic Emotions: Contrary to the notion that a first-look diminishes the aisle moment, the genuine emotions of seeing your love for the first time are preserved both in the private first-look and the public ceremony. This dual experience adds depth to the emotional tapestry of the wedding day, ensuring that authentic and real moments are captured from different angles and locations.
Step 3: The Ceremony
Timeline Allotment: 20 min – 1 hour
Time: Usually mid-day to late afternoon
Location: Wedding Chapel or Venue
Outdoor Ceremony
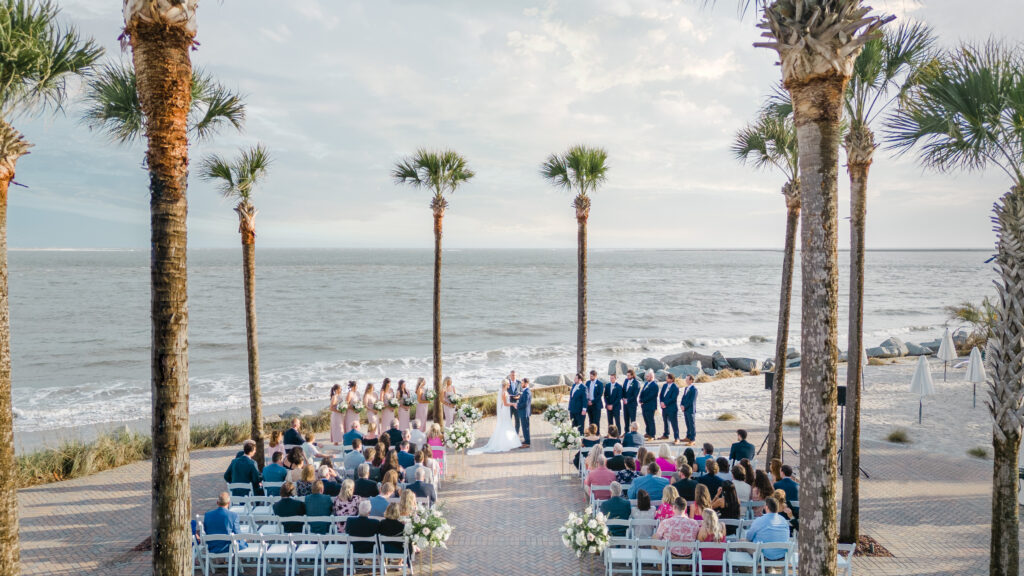
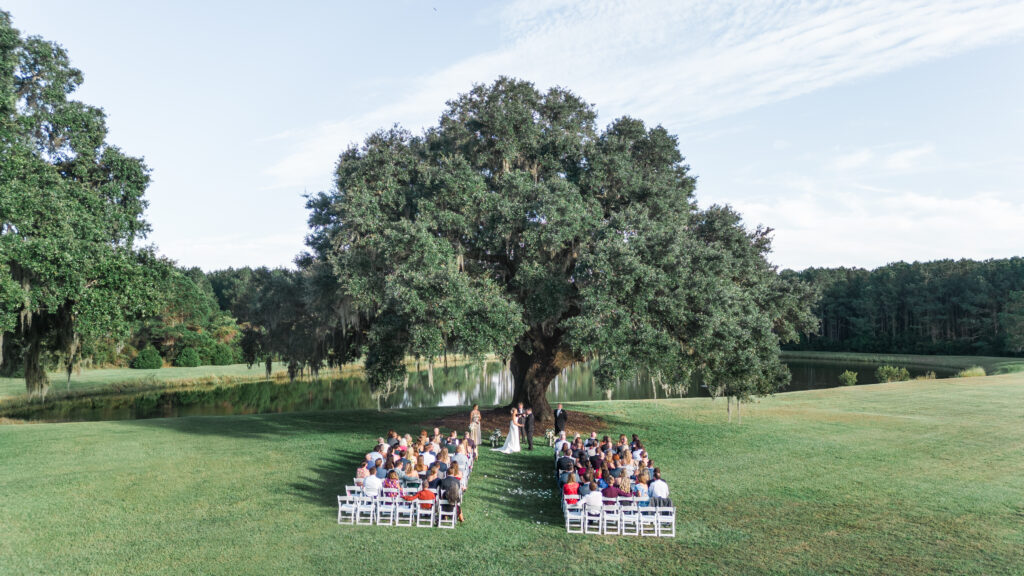
Today, a large percentage of wedding ceremonies are outdoors, especially in warmer climates. From a photographer perspective, make sure to keep the sun and season in mind. Discuss the location of the sun during the time of the ceremony with the venue or wedding planner. Utilize the application PhotoPills to assist with determining light based on location and time of year.
Indoor Ceremony
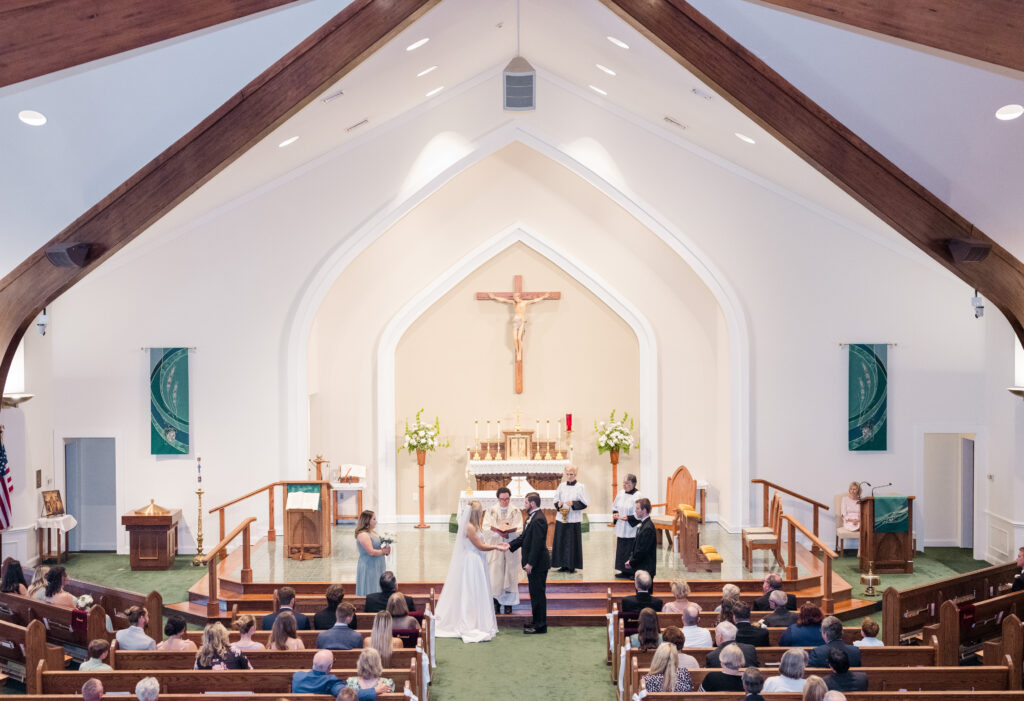
If couples opt for an indoor ceremony, make note of available light on the pre-wedding tour. Due to indoor ceremony locations often having poor light, inquire if flash photography is allowed. If flash photography isn’t allowed, it’s always good to know this up-front and understand possible camera limitations. In addition to considering the light and venue policies on flash, make sure to inquire if photographers are allowed to move throughout the ceremony capturing a variety of angles.
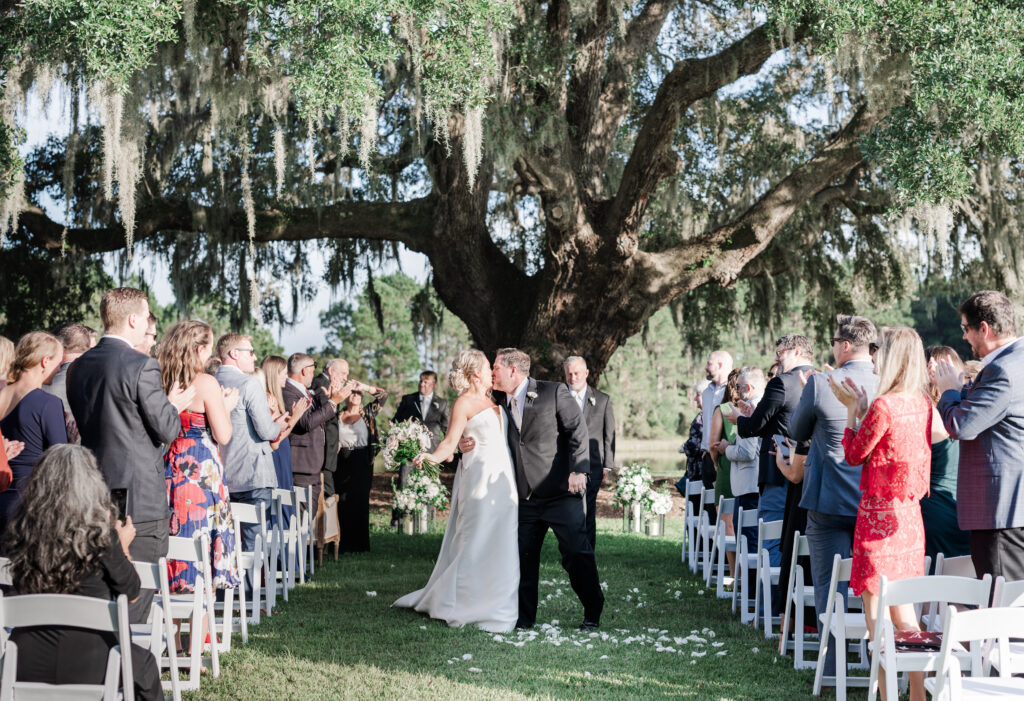
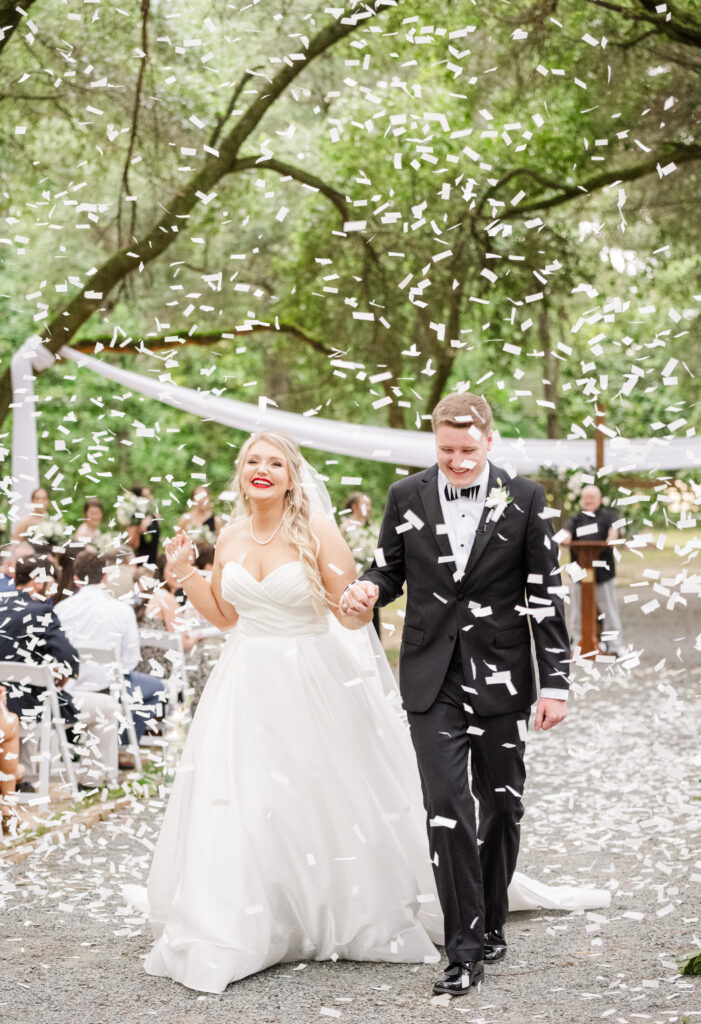
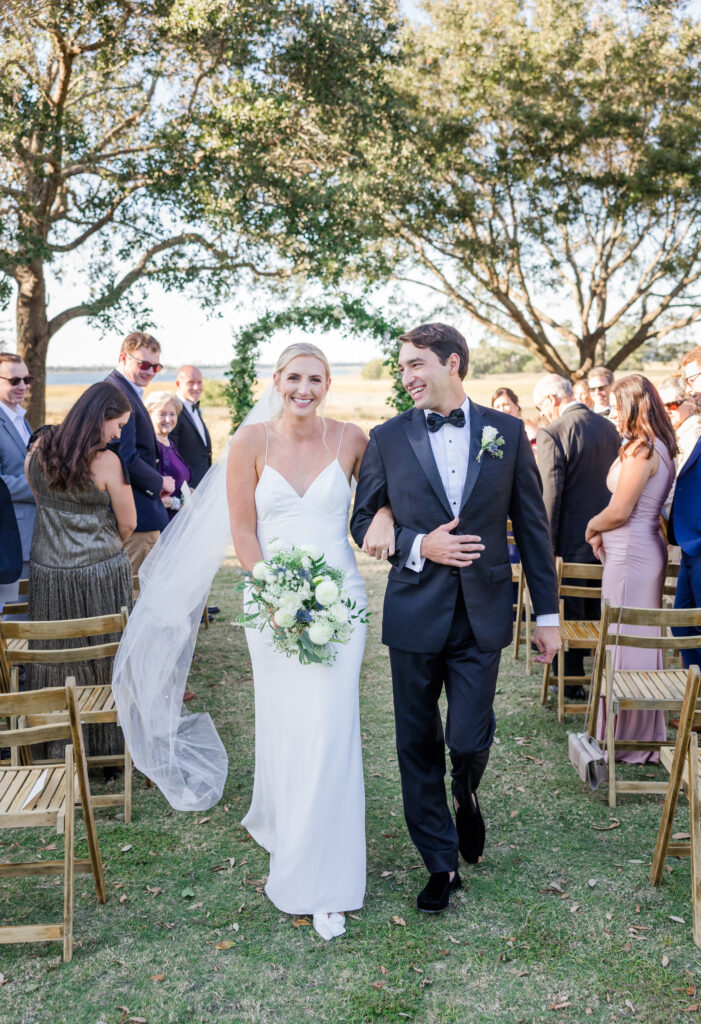
Ceremony Exit
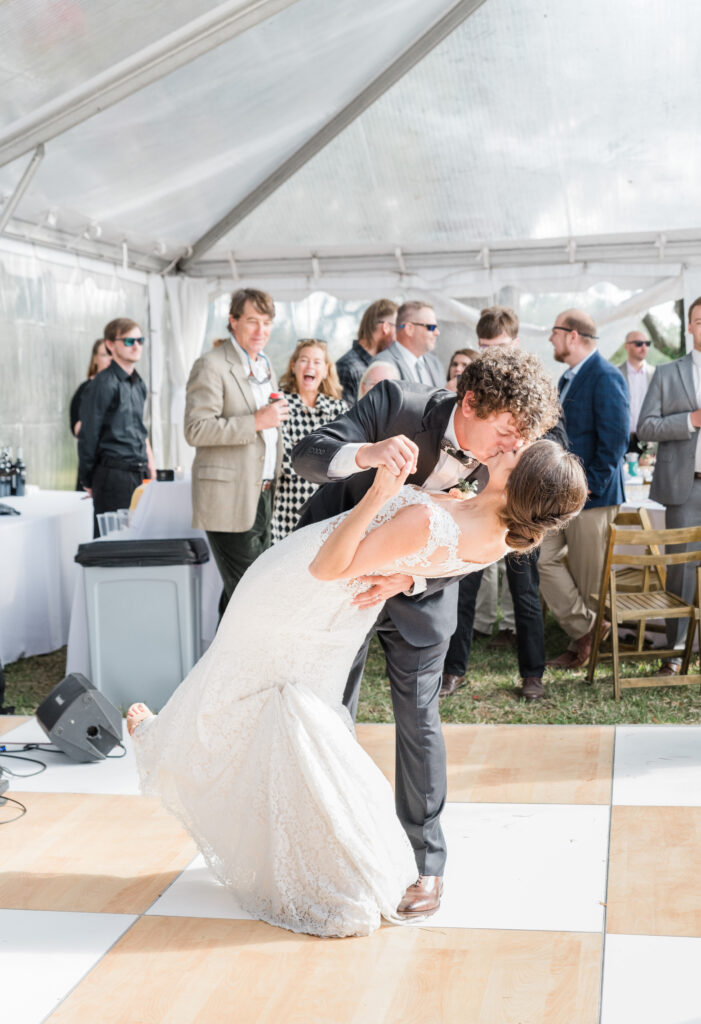
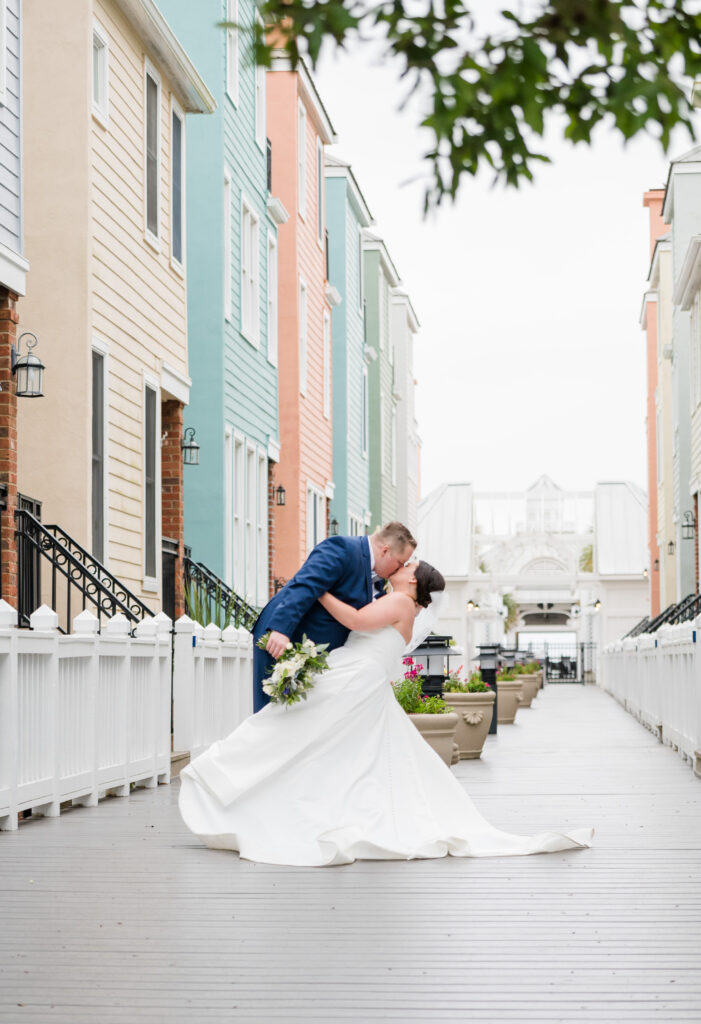
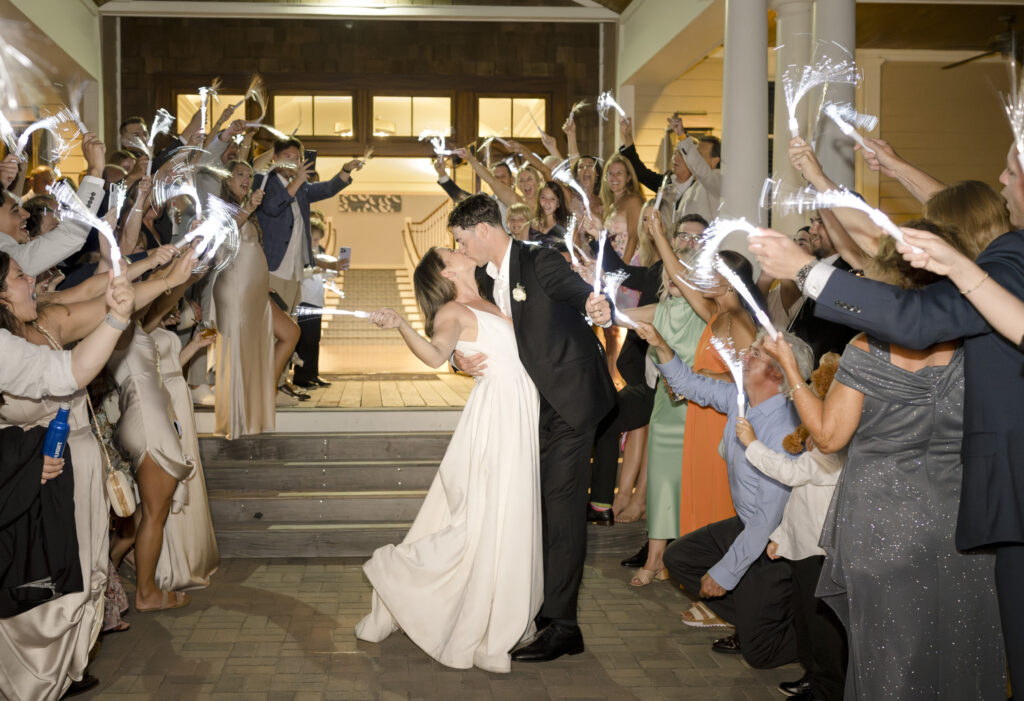
Planning a special ceremony exit? It’s always best for couples to practice the ceremony exit prior to the wedding day. If a ceremonial dip and kiss is planned, the engagement session is a great time to practice and perfect the art-of-the-dip!
Step 4: Immediate Post Ceremony
Timeline Allotment: 20 min – 1 hour
Time: Usually late afternoon
Location: Close proximity to the ceremony site
Post-ceremony time allotment can vary greatly depending on whether the couple opted for a first-look or decided against it.
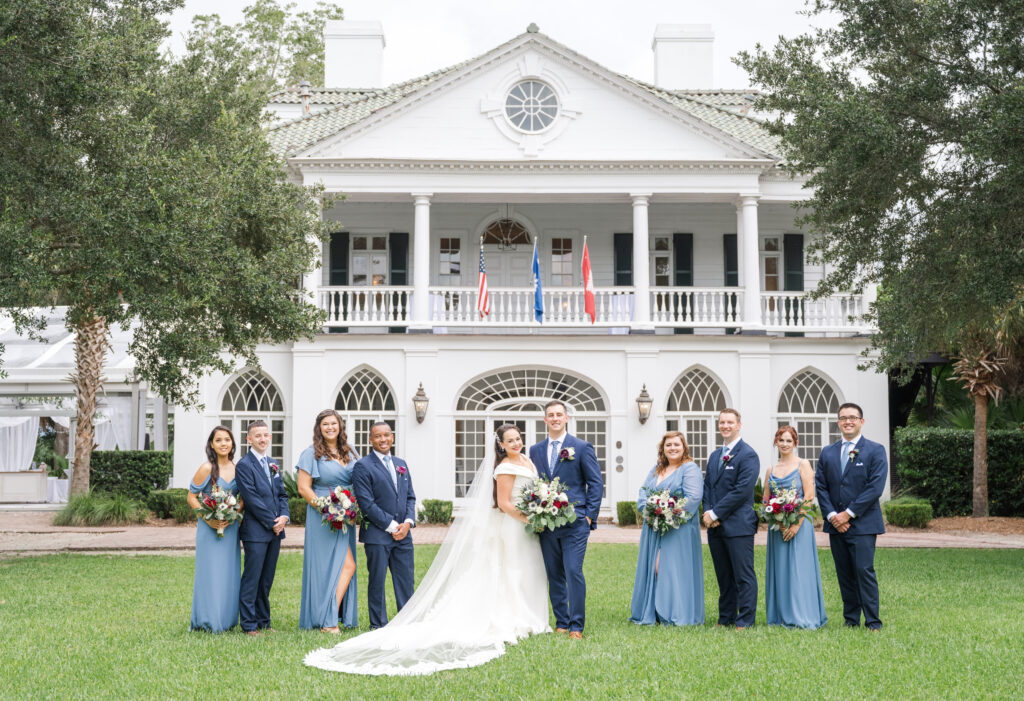
If the couple opted for a first-look, the family formal and bridal party portraits are most likely complete. Therefore, the time after the ceremony is a fantastic opportunity for additional couple portraits.
If the couple decided against a first-look, the post-ceremony time allotment will be longer. All family, bridal party, and couple portraits will be scheduled for after the ceremony.
All couples should complete a family formal photography list. The photography list should include the name (ie. Mary) and the title for each individual (ie. Bride). For example, items such as the following might be included:
Bride + Bride’s Parents: Mary + Jane + Joe
Bride + Siblings: Mary + Bobby, Lexi, Alex and Sophie
Bride + Groom + Bride’s Parents: Mary + James + Jane+ Joe
While the family formal photography list might seem like a tedious task, it’s extremely important to have this prepared and shared with all photographers prior to the wedding day.
Don’t forget, the post-ceremony time is also a great moment to sign the marriage license, while the officiant is still close-at-hand.
Step 5: Cocktail Hour & Couple Portraits
Timeline Allotment: 30 min – 1 hour
Time: Usually late afternoon or early evening
Location: Venue + scenic location away from guests
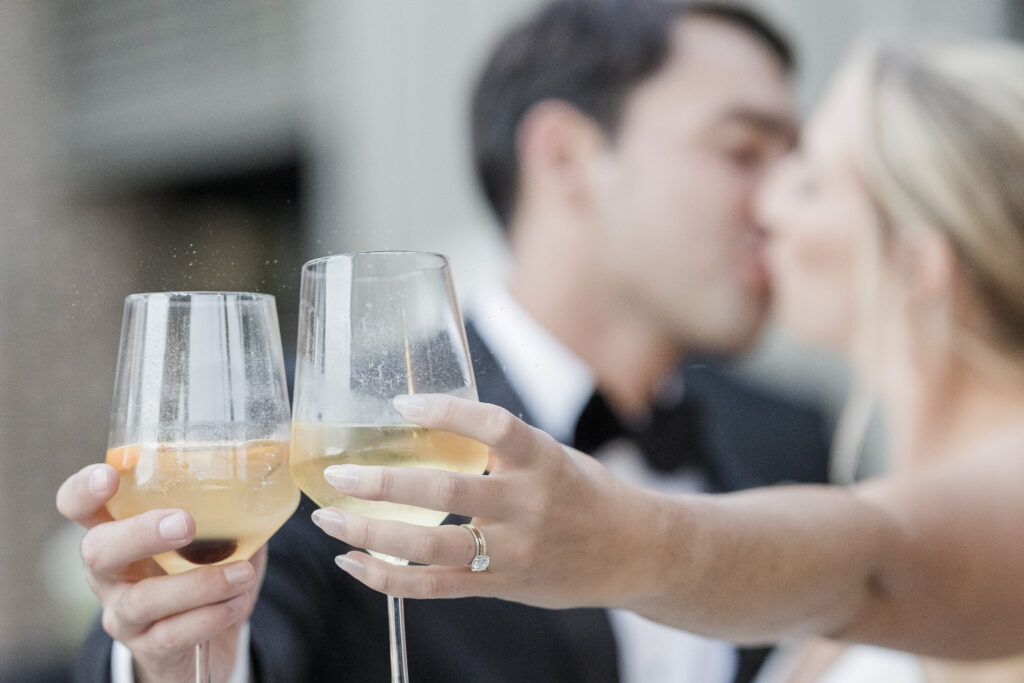
The wedding photography timeline at this portion of the day largely depends on how many portraits were captured pre-ceremony. If the couple decided against a first-look, this will be the main opportunity to capture creative bride-and-groom portraits. On the other hand, if a first-look was chosen, taking a few moments to photograph additional couple portraits should be considered as it maximizes the couple’s wedding gallery.
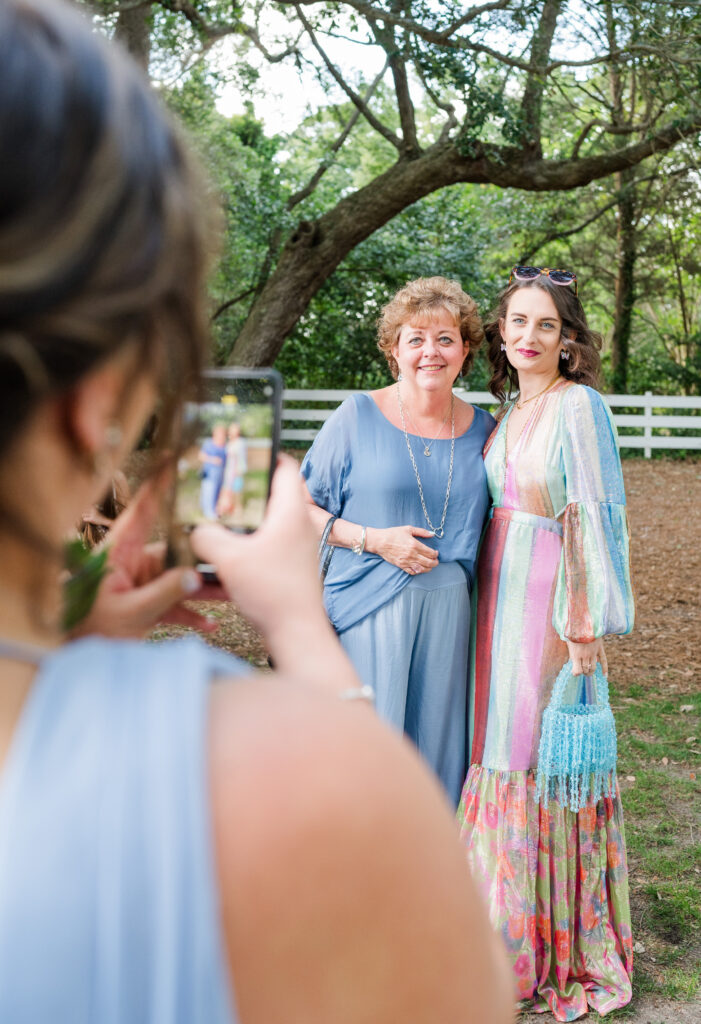
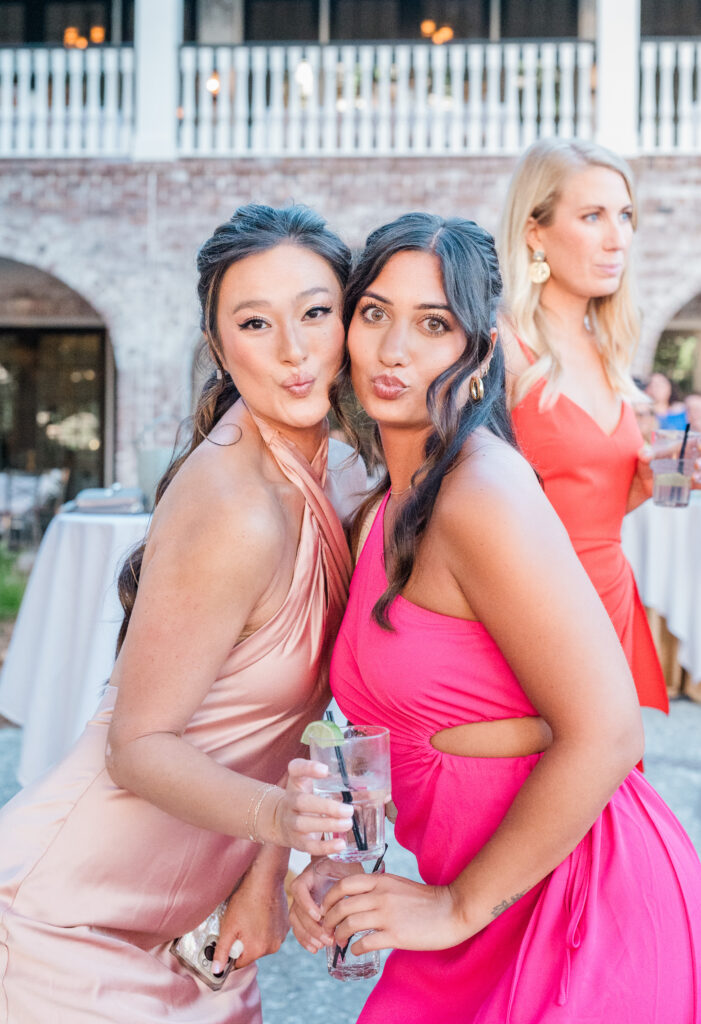
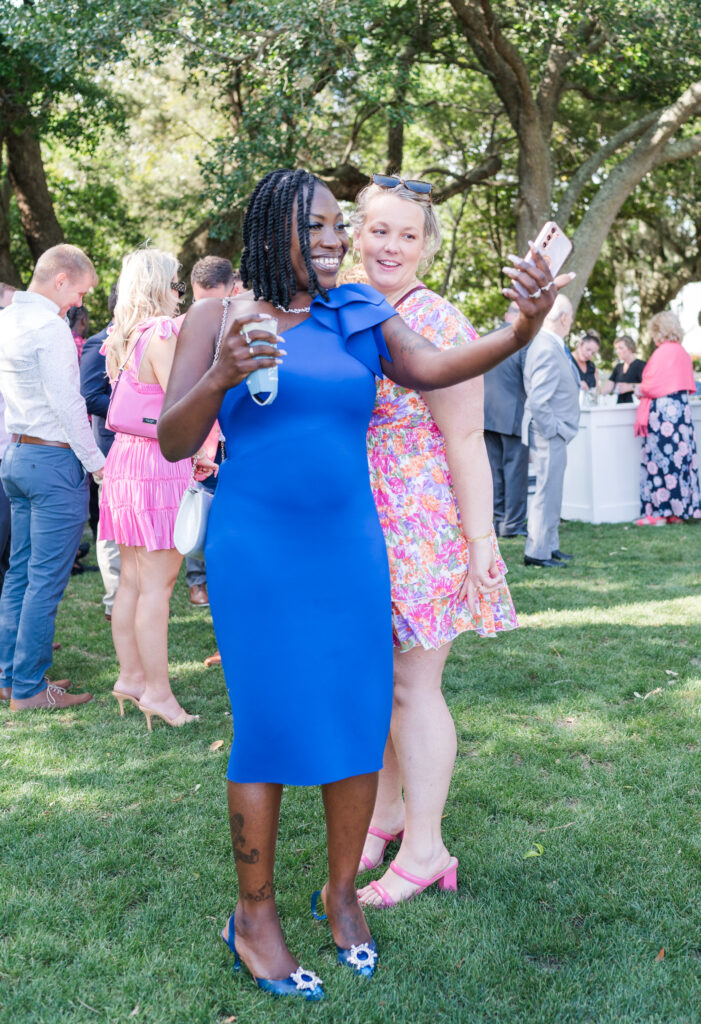
As with the getting-ready portion of the day, cocktail hour is another time when the second photographer often separates from the lead photographer. The second photographer should concentrate on photographing friends and family enjoying drinks and appetizers, while the lead photographer stays focused on the bride and groom.
Step 6: Reception
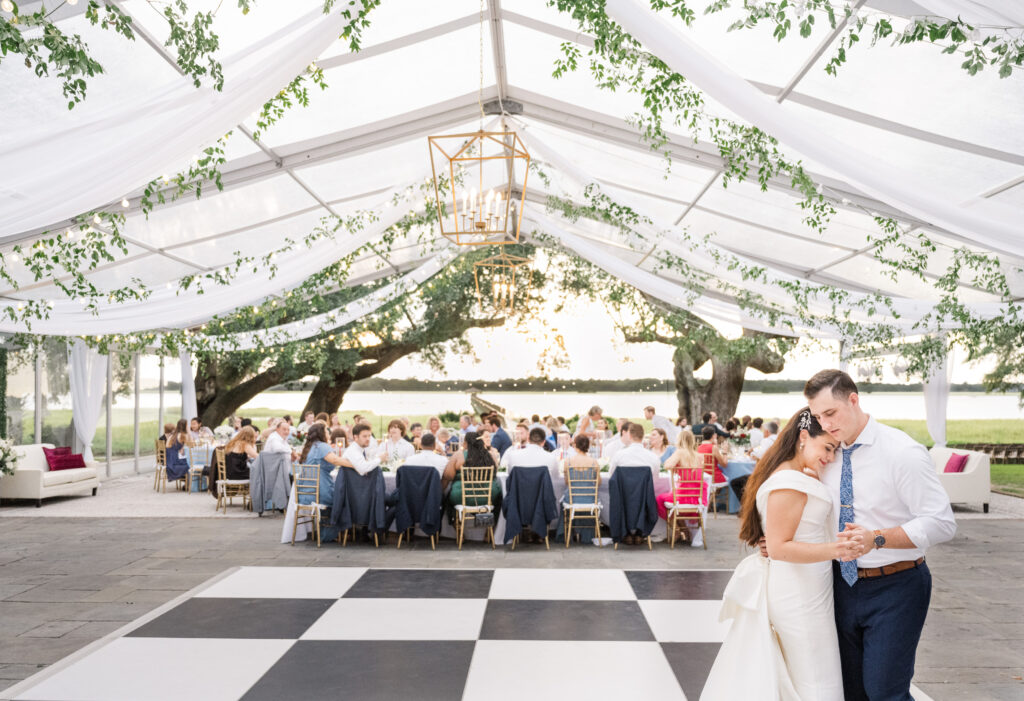
Timeline Allotment: 2 – 4 hours
Time: After ceremony early/late evening
Location: Reception venue
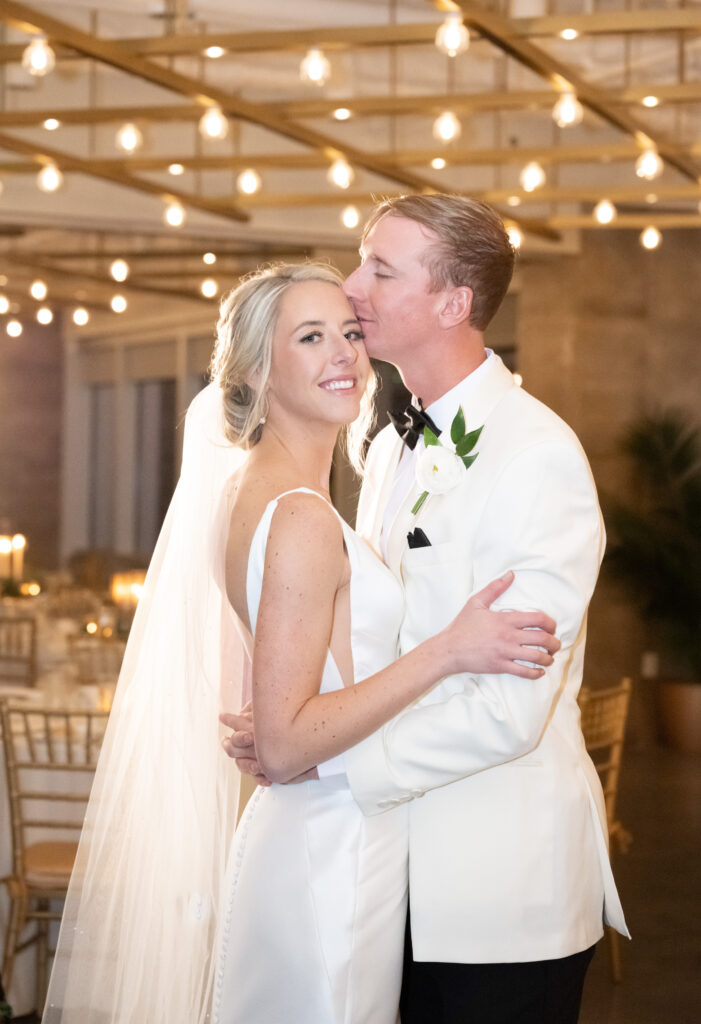
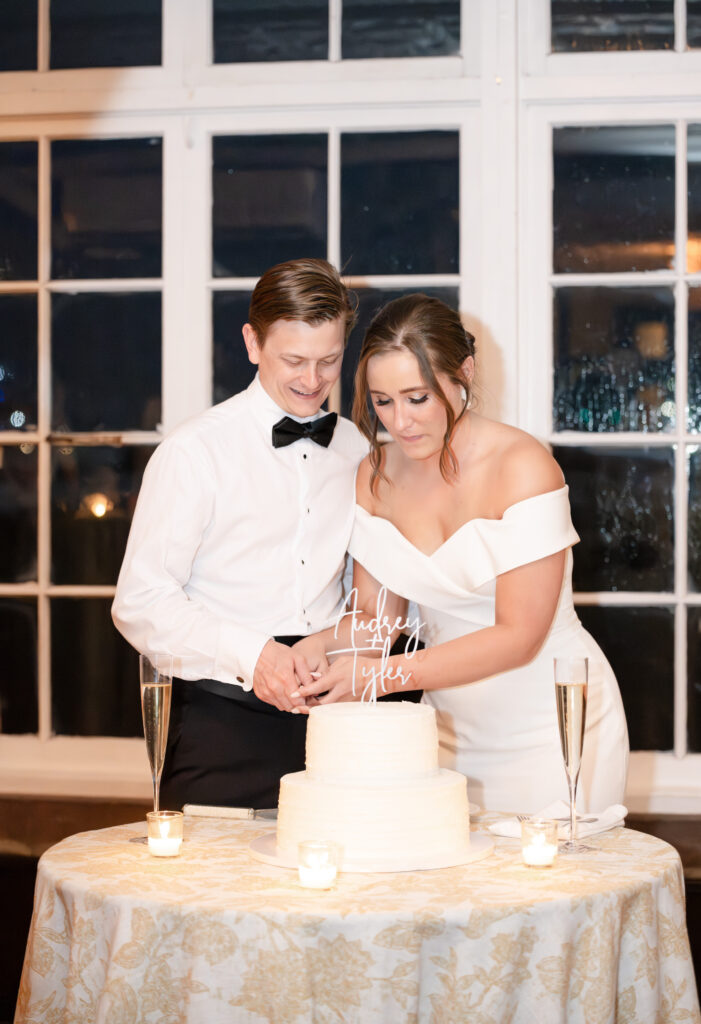
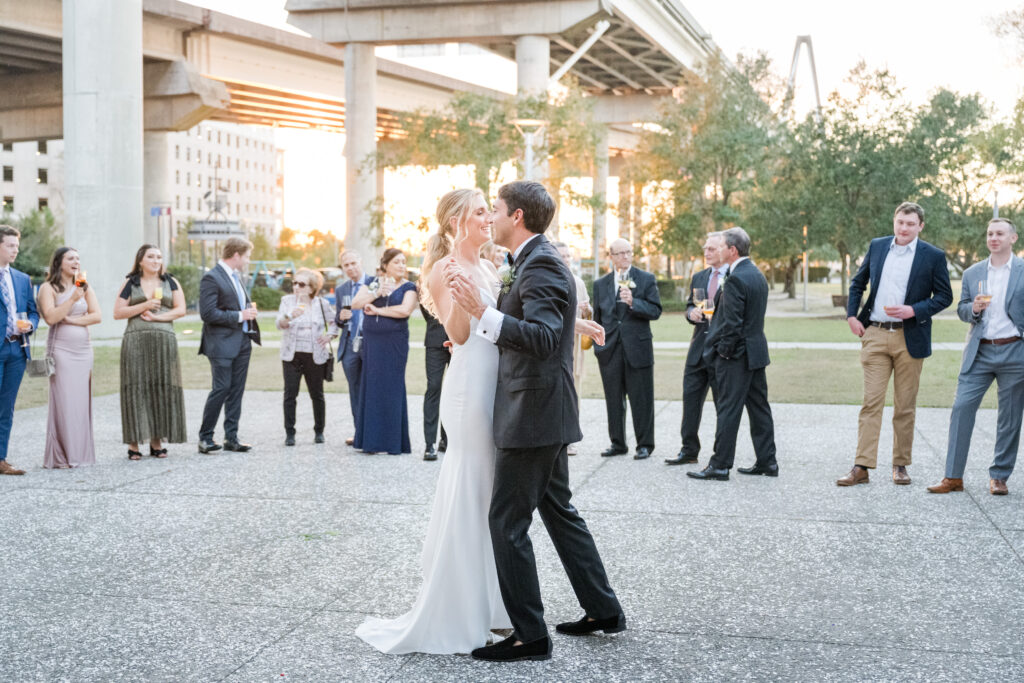
The possibilities for wedding receptions are endless, ranging from elegant ballrooms to beautiful backyards. While some receptions feature toasts and dancing, others may involve intimate conversations on the beach. Whatever the couple decides, the bride and groom should embrace the uniqueness of the chosen setting and let their personalities shine. Receptions provide a rare opportunity to gather all of the couples’ favorite people in one place, so the moment should be savored!
Step 7: Sunset Bride & Groom Portraits
Timeline Allotment: 15 – 20 min
Time: After reception welcome, speeches & dances
Location: Private location near reception venue
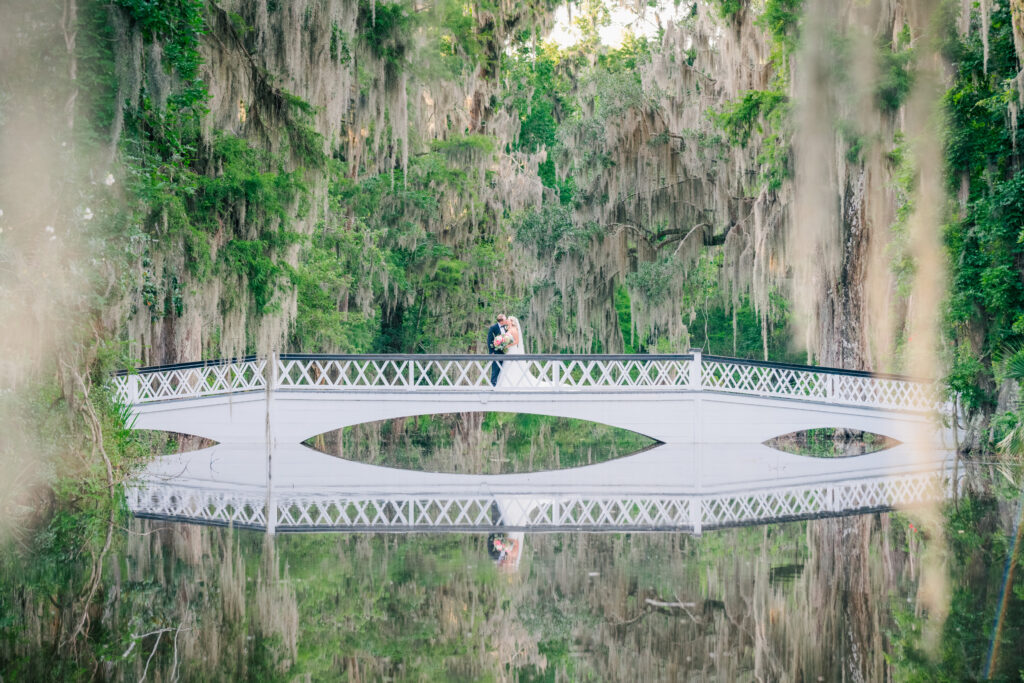
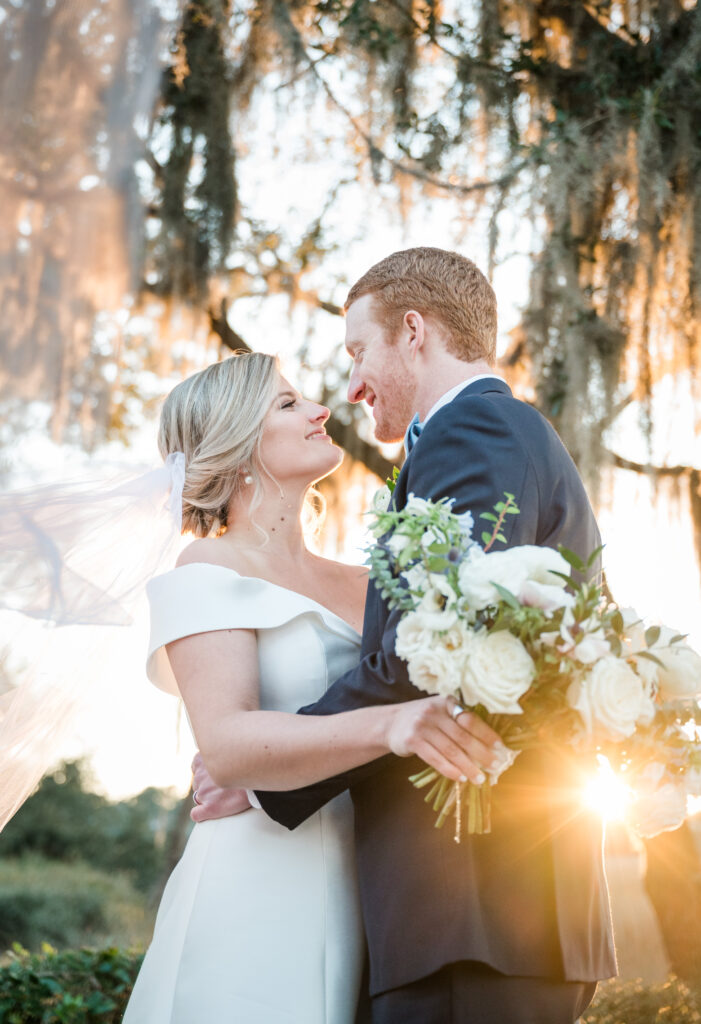
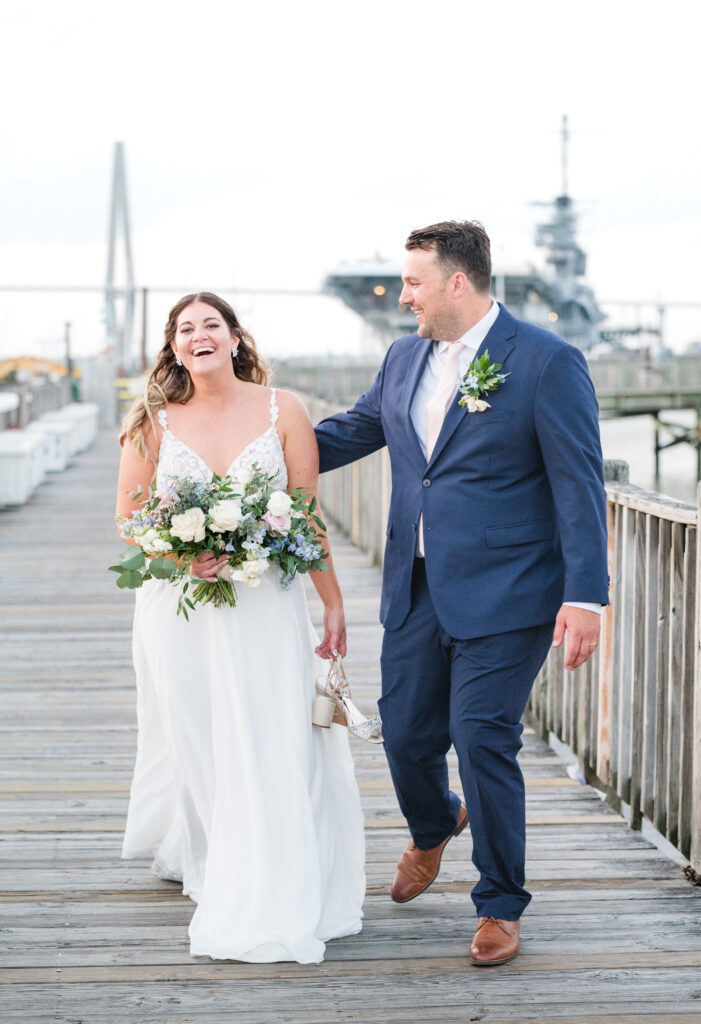
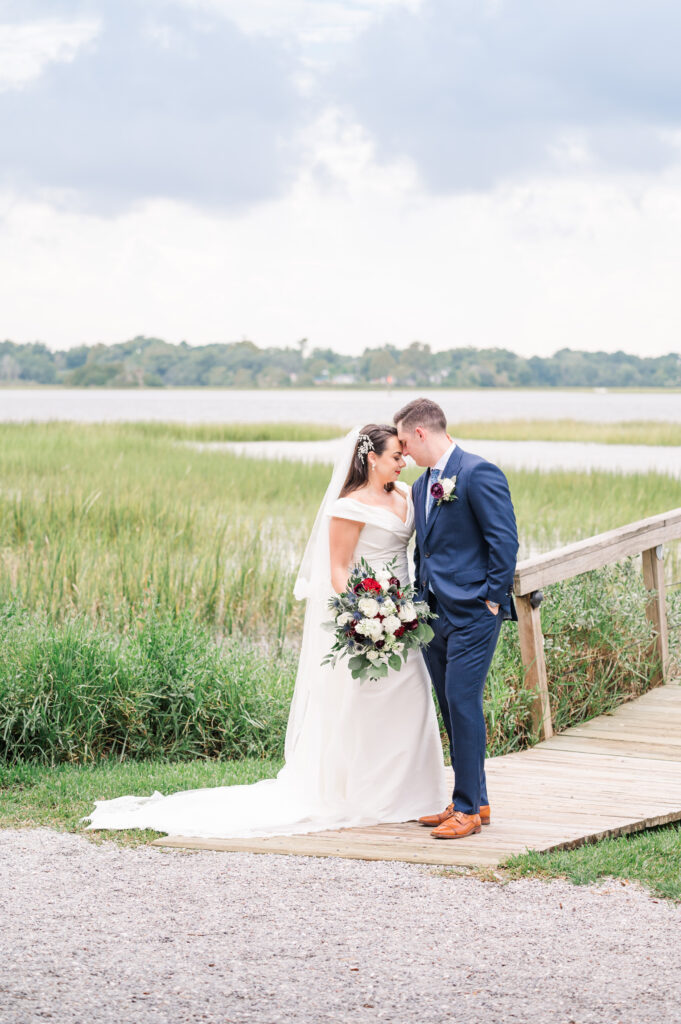
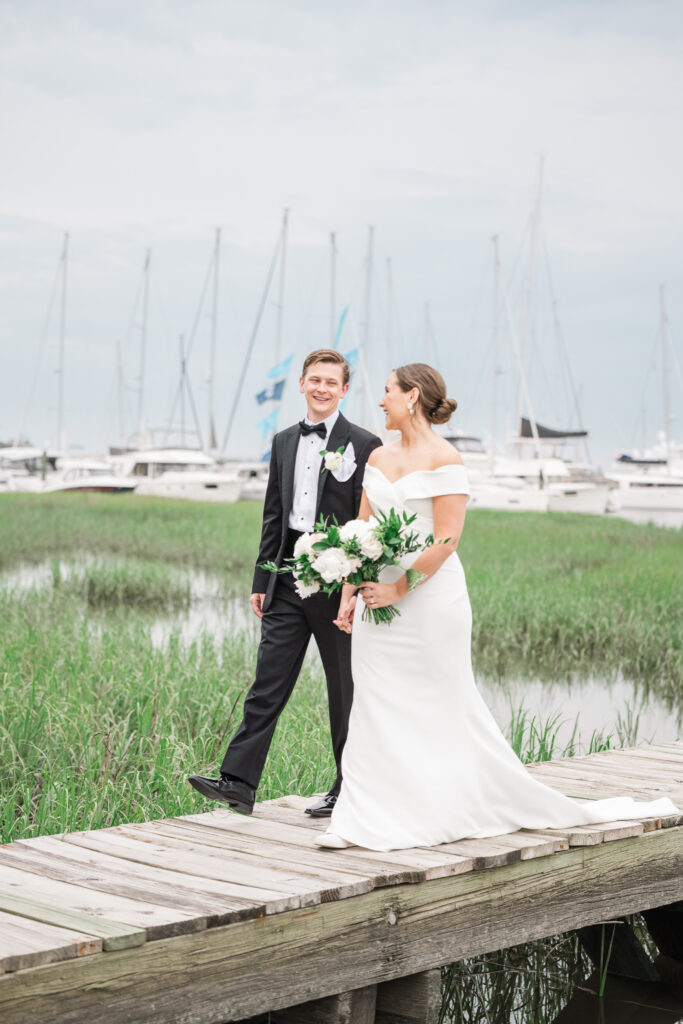
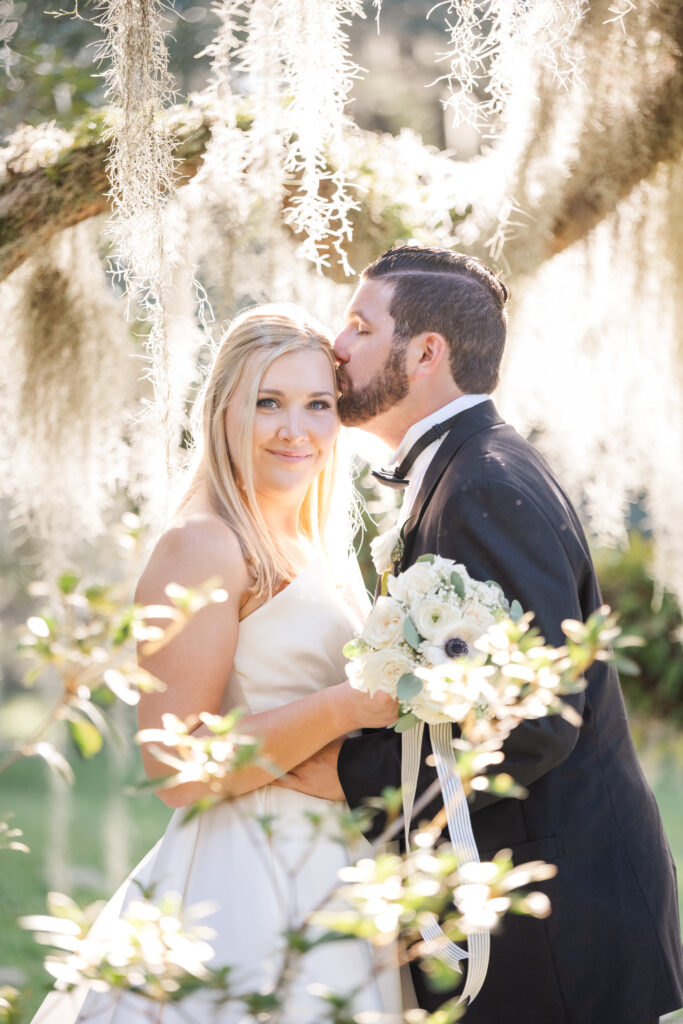
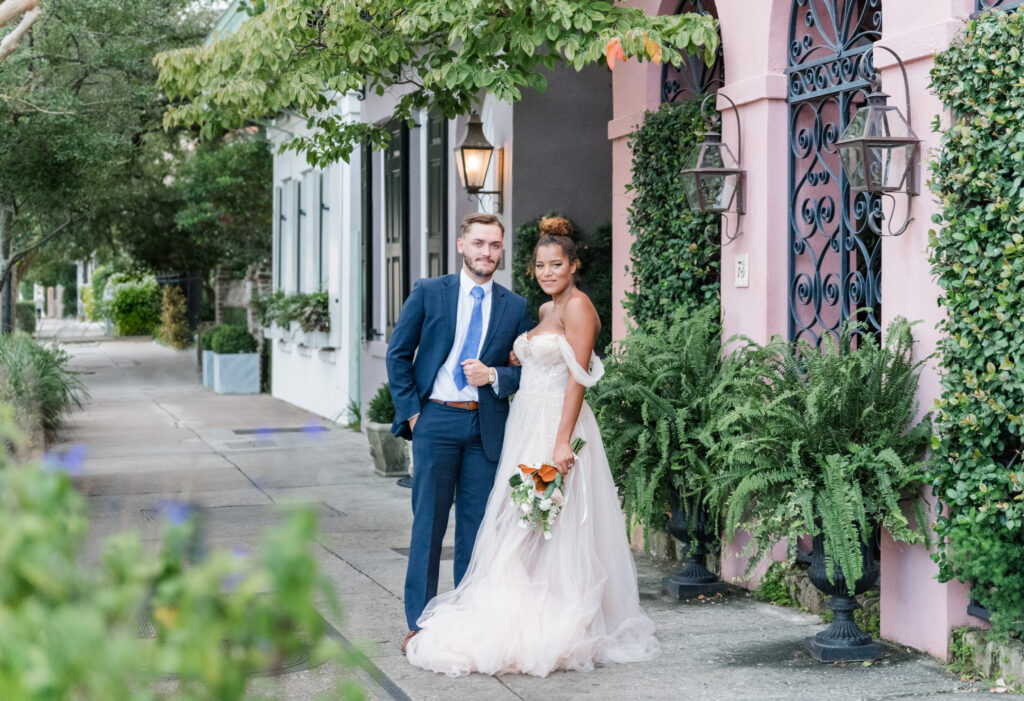
Usually, sunset portraits are the most epic and beautiful portraits of the day. These portraits are sometimes referred to as “sneak-away” portraits because couples sneak-away from the reception for 15-20 min for pictures. By this juncture in the wedding day, jitters and nerves have faded and all that’s left is pure joy and excitement.
Step 8: Reception Exit
Timeline Allotment: 5 – 10 min
Time: Late evening finale exit
Location: Reception venue entrance/exit
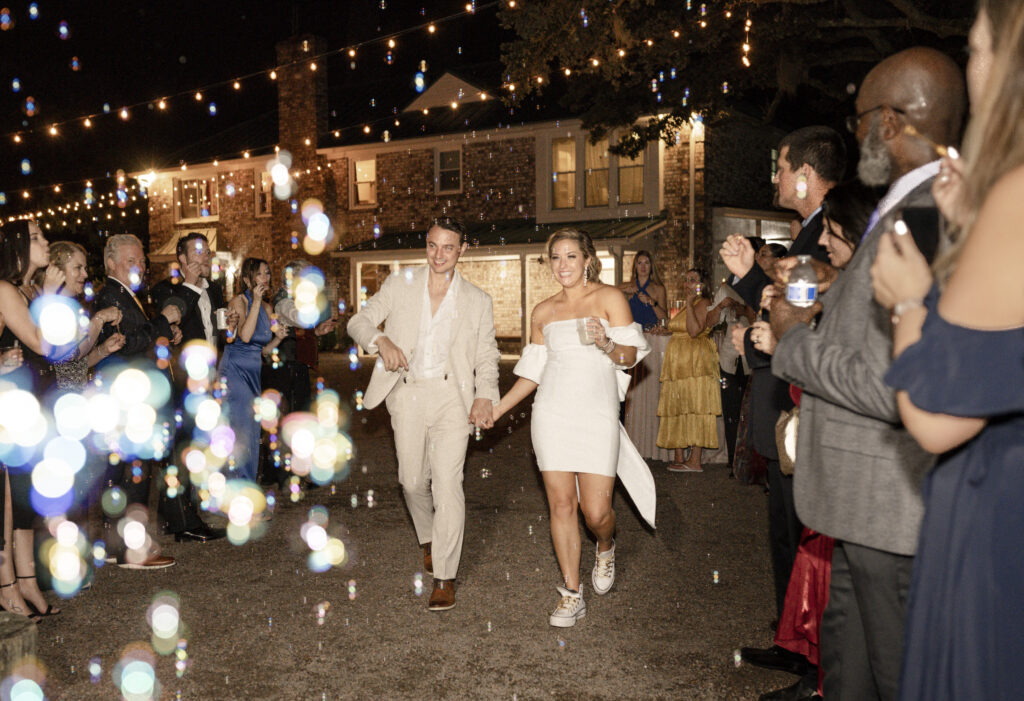
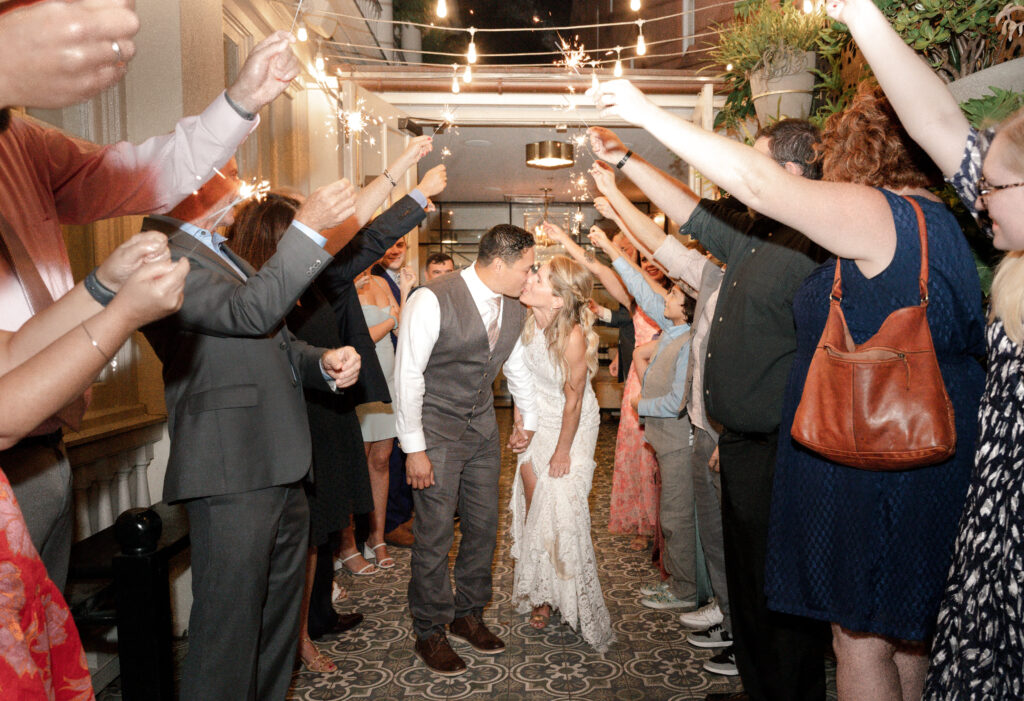
Reception exits are a fantastic way for friends and family to congratulate and cheer newlyweds into their new life together. There are many options to consider from fire-free sparklers to bubbles and beyond! Have fun and light it up!
If you’re a wedding planner or couple who would like to work with Alisha Cory Photography, please inquire below:
Photography Credit: Alisha Cory Photography
+ COMMENTS
add a comment